Wargames blog, covering many shiny things in the world of Historical Wargames. Home of Yarkshire Gamers Reet Big Wargames Podcast.
The YG tentacles reach to a You Tube Channel - Yarkshire TV, also find us on the Twitters and Insta @yarkshiregamer
Showing posts with label 1/700 WW2 Naval. Show all posts
Showing posts with label 1/700 WW2 Naval. Show all posts
Things have been a bit slow on the hobby front this month but I've managed to add another 2 1/700 scale Liberty Ships to the Convoy (now 10 in total)
Watchers of the Monthly Update will recall a few months ago I picked up a large collection of model ships from a chap (Vincent Kennedy) who had sadly passed away and these are the first two that have been Yarkshire Gamerfied.
I wanted to keep the orginal model as much as I could, but weather and base them so that they fit in with the rest of the collection, there are another 4 merchants to work on so I hope to have those done soon as well. The number of ships in the collection I picked up, is a bit overwhelming but I've made a start and guaranteed that these models will live on a bit longer.
I'm guessing that they are the Trumpeter Models but some of the AA mounts are different which I'm guessing is a conversion.
I'm a bit behind on the Podcast as well but I'll get back in the swing soon.
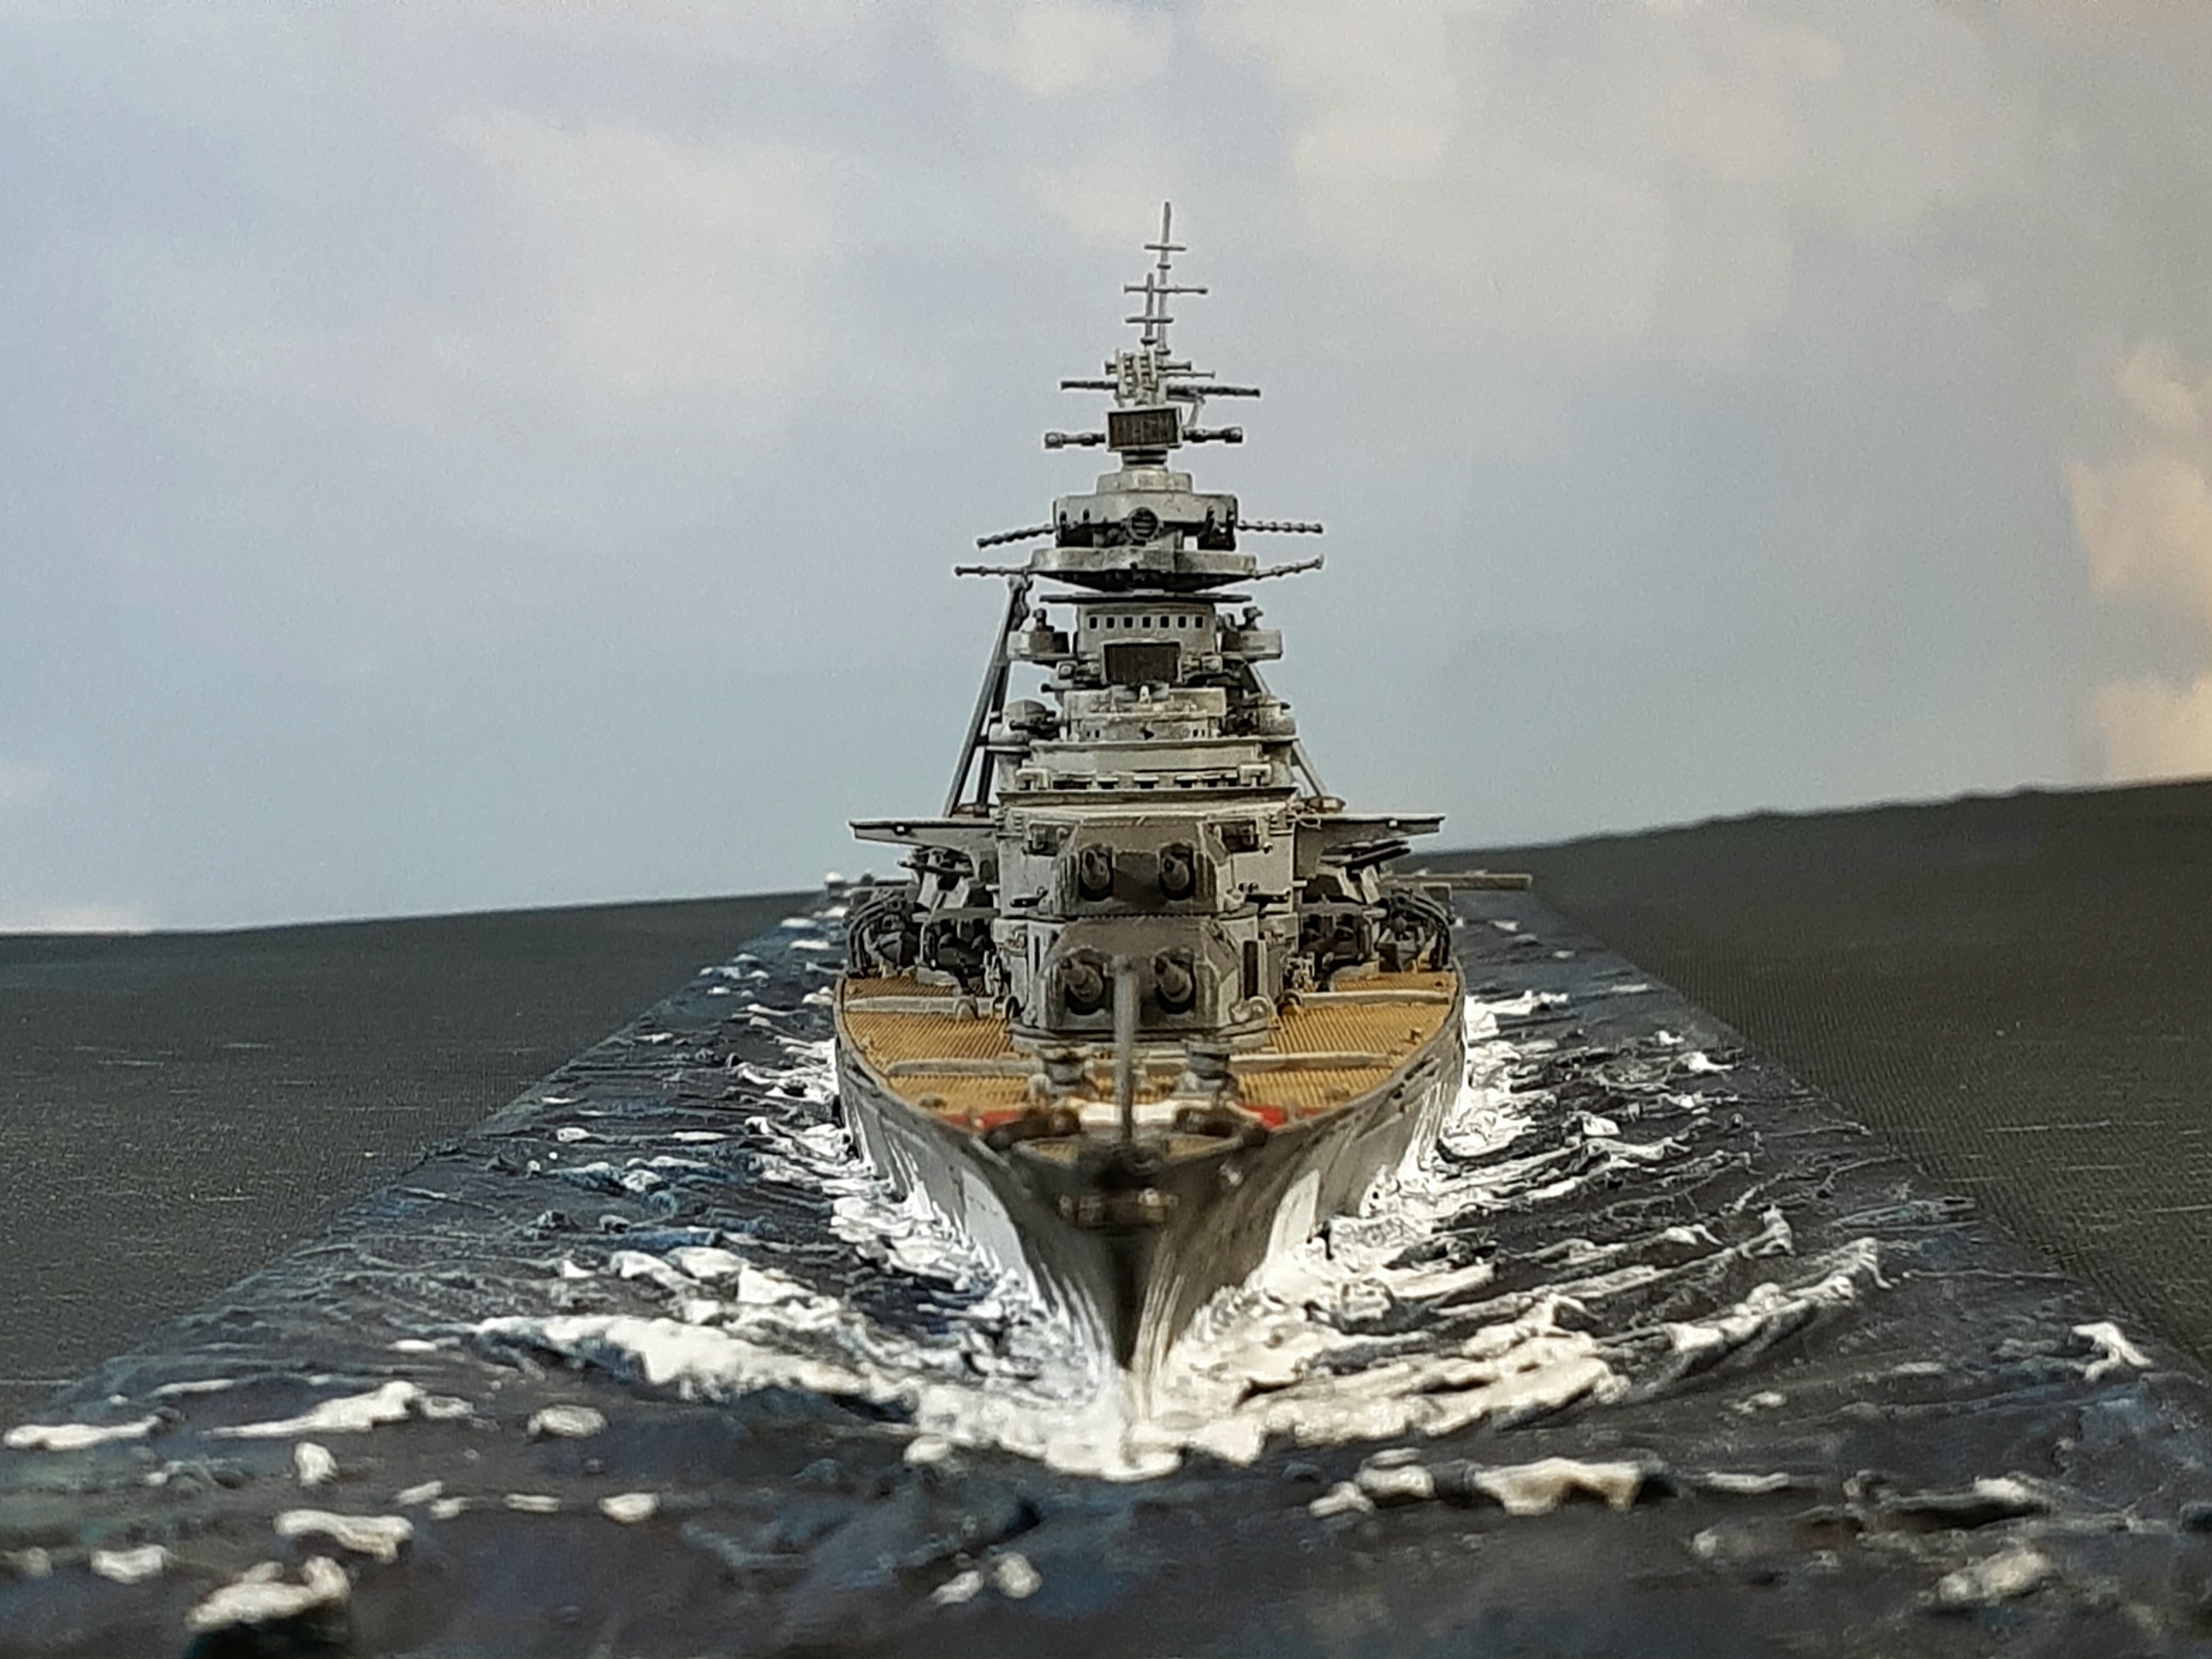
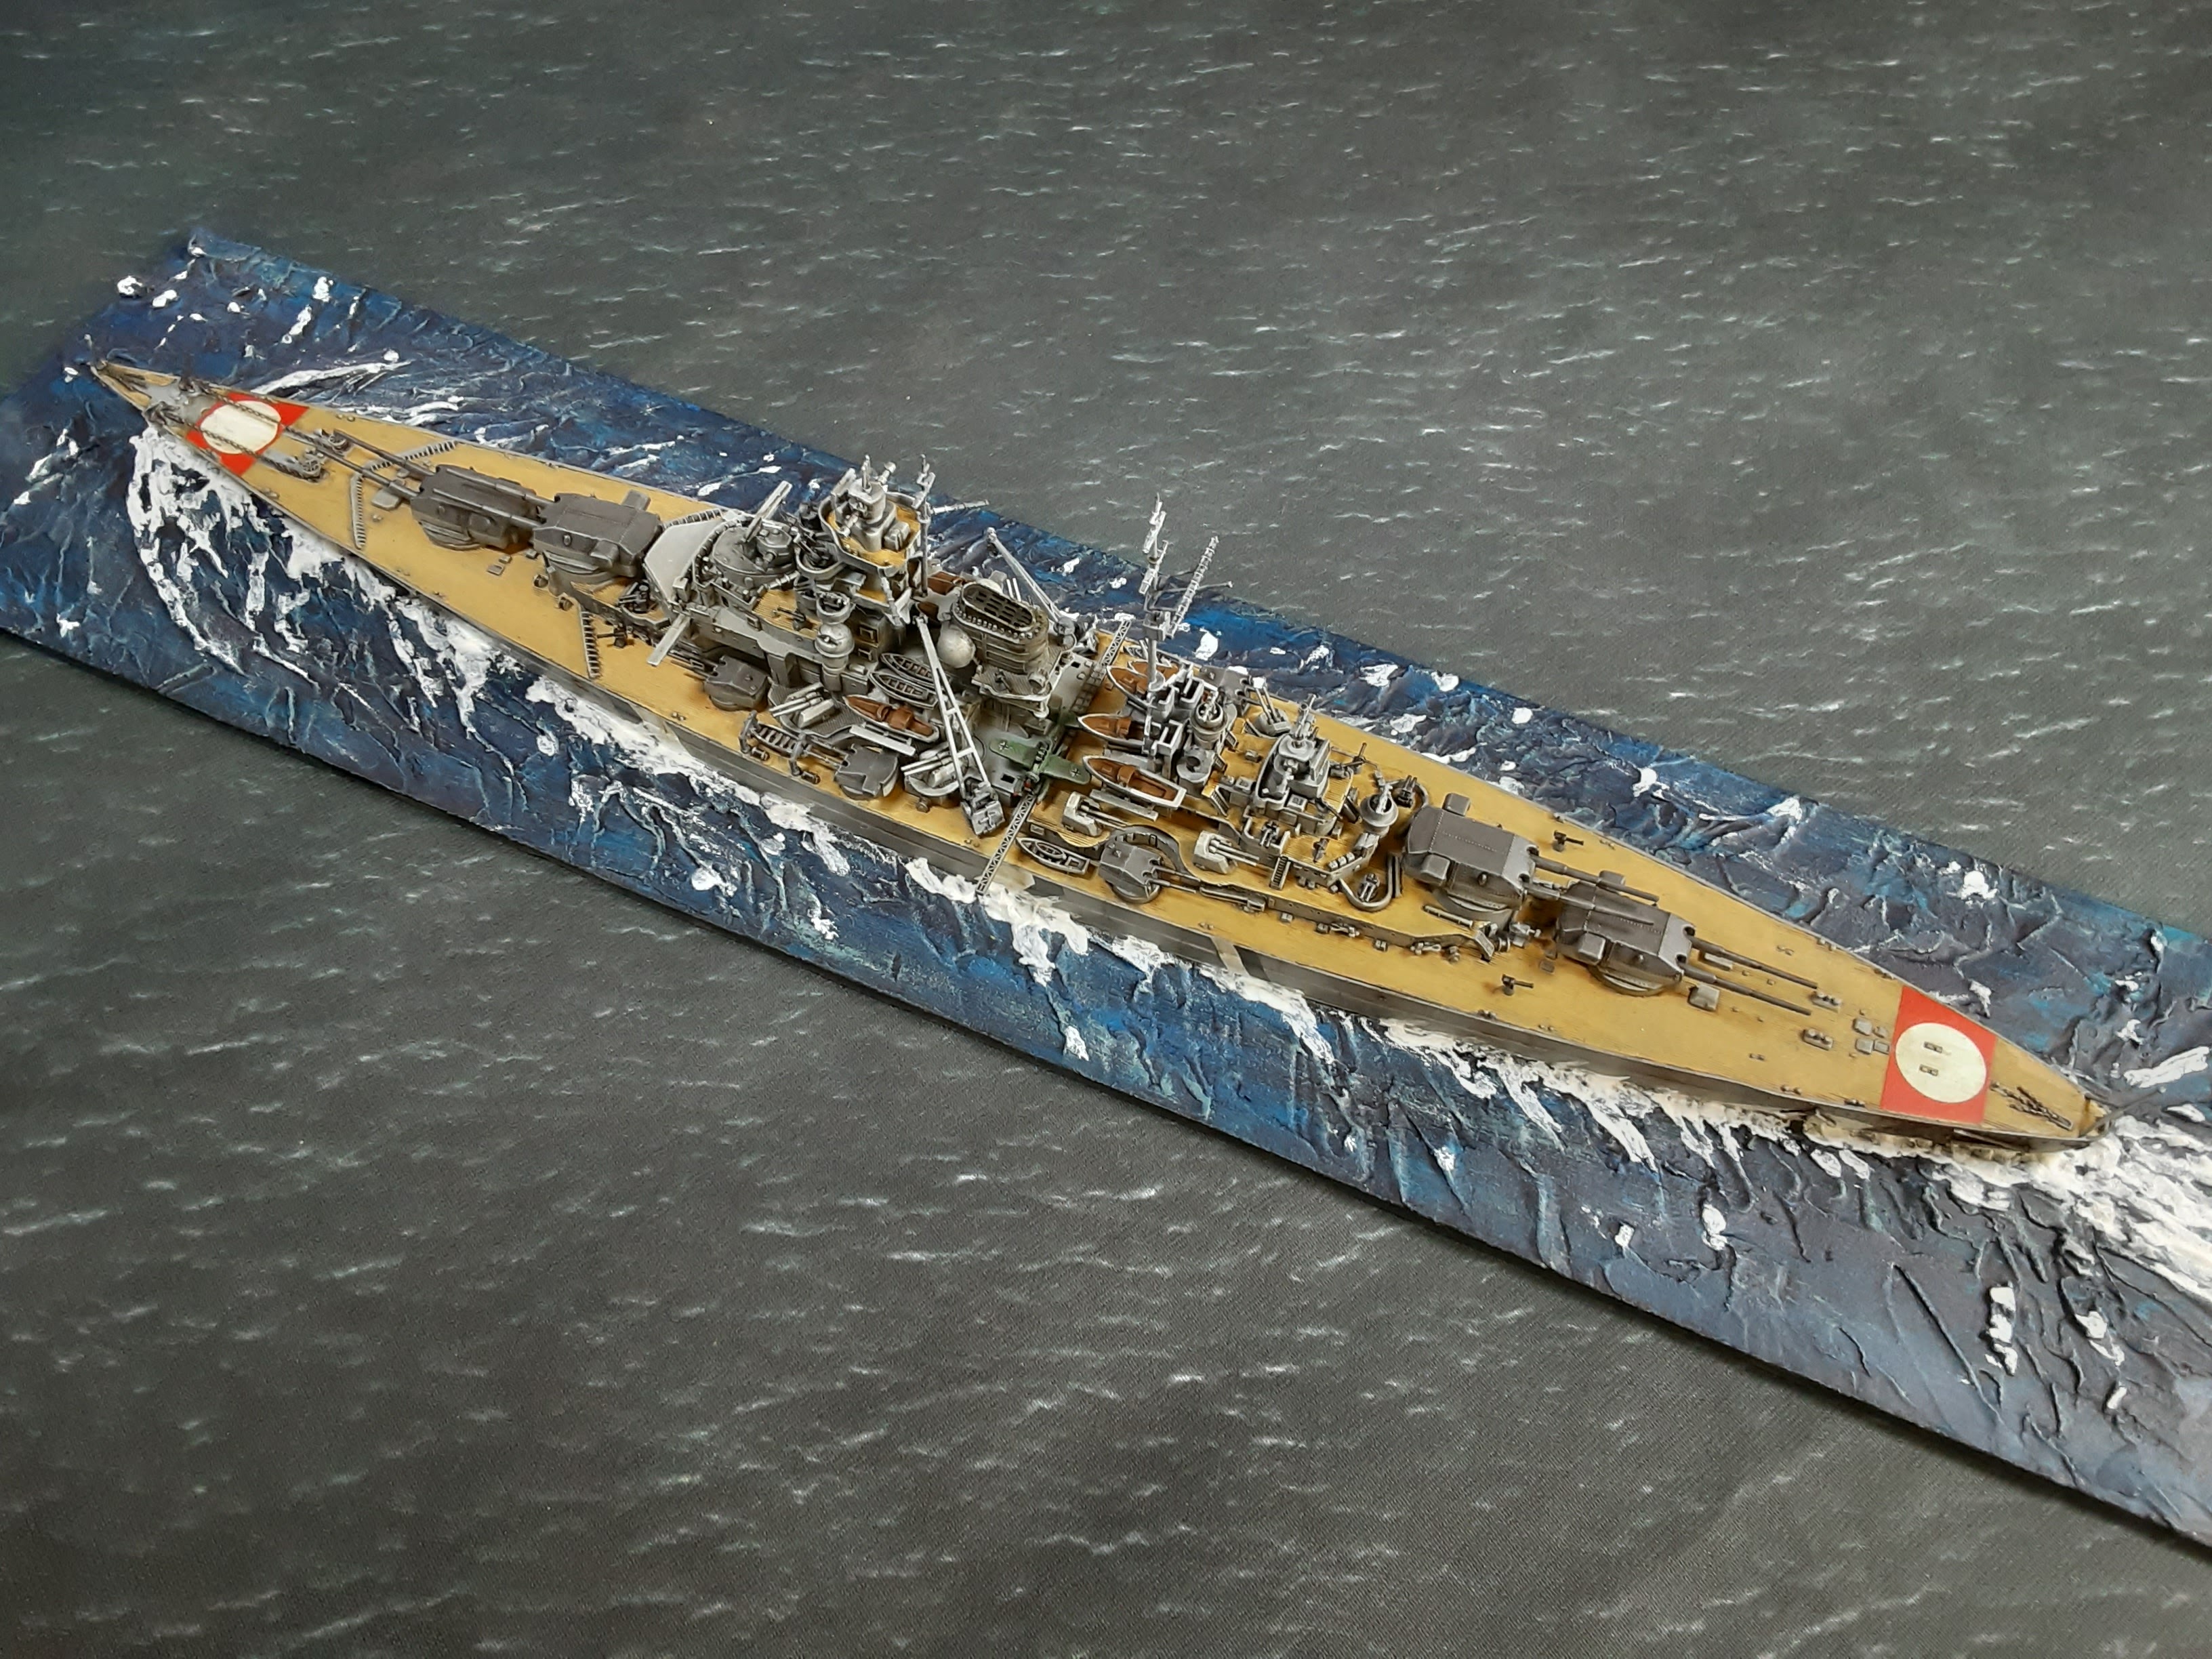
Regular followers will have seen this model being gradually built on the Utubes (links below) so I am really pleased to present the "nearly" finished model.
The kit is from Revell and sold as a full hull kit, which I didn't notice when I bought it so a sharp blade and a lot of swearing turned it into a waterline ! I was very impressed with the kit, much more detailed (and longer to build) than the Tamiya ones I've built.
The base on the ship is the same size as the Hood which is 42 x 10. My rules use standard base sizes for classes of ships, so for this scale Cruisers are on 32 x 8 and Destroyers 22 x 6. Don't get you calculator out to work out some complex formula based on model scale and ground scale to work out the reasoning, there isn't any. I am trying to protect the model.
I've done a series of videos on the Utubes covering the entire build if you are interested in that side of things.
PENDANTS CORNER
The camo scheme is as the ship was painted in early May 41 at the start of Op Rheinubung (Sovereign Hobbies reference), I know these aren't the colours at the time of engagement with Hood, but I wanted a scheme that was instantly recognisable as Bismarck without the pain of repeating the black and white up the superstructure.
Symbols - the good old "controversial" crooked cross is not present on the model as it has been presented. I am aware of the sensitivity around this symbol for some. I will be adding it at a later stage, the Revell kit does not come with it as a decal option so that made the decision easier. I am very firmly in the camp of, if its historically accurate and representing a real moment in time I have no problem putting a symbol on a model. I'm old enough and daft enough to distinguish between an accurate model and a political ideology. When I add it I will put a note on any relevant photos.
The horizon in the background of the photo is bent because there is a dip in my table 😀
If you spot anything missing from the model let me know, I've got a couple of pieces rattling around in the box that I've missed !
Anyway I've had a great time building this model and I look forward to displaying and playing with it in the future. I was so enthusiastic I built Prince of Wales last night 👍
Just for reference here's a picture of Bismarck next to Hood
And finally one of Bismarck being escorted (very closely) by four Destroyers
Regards Ken
The Yarkshire Gamer
If you're interested in the Utubes series, links are below
I've not put anything on the blog for a while and in the meantime the 1/700 WW2 Naval Project keeps on growing.
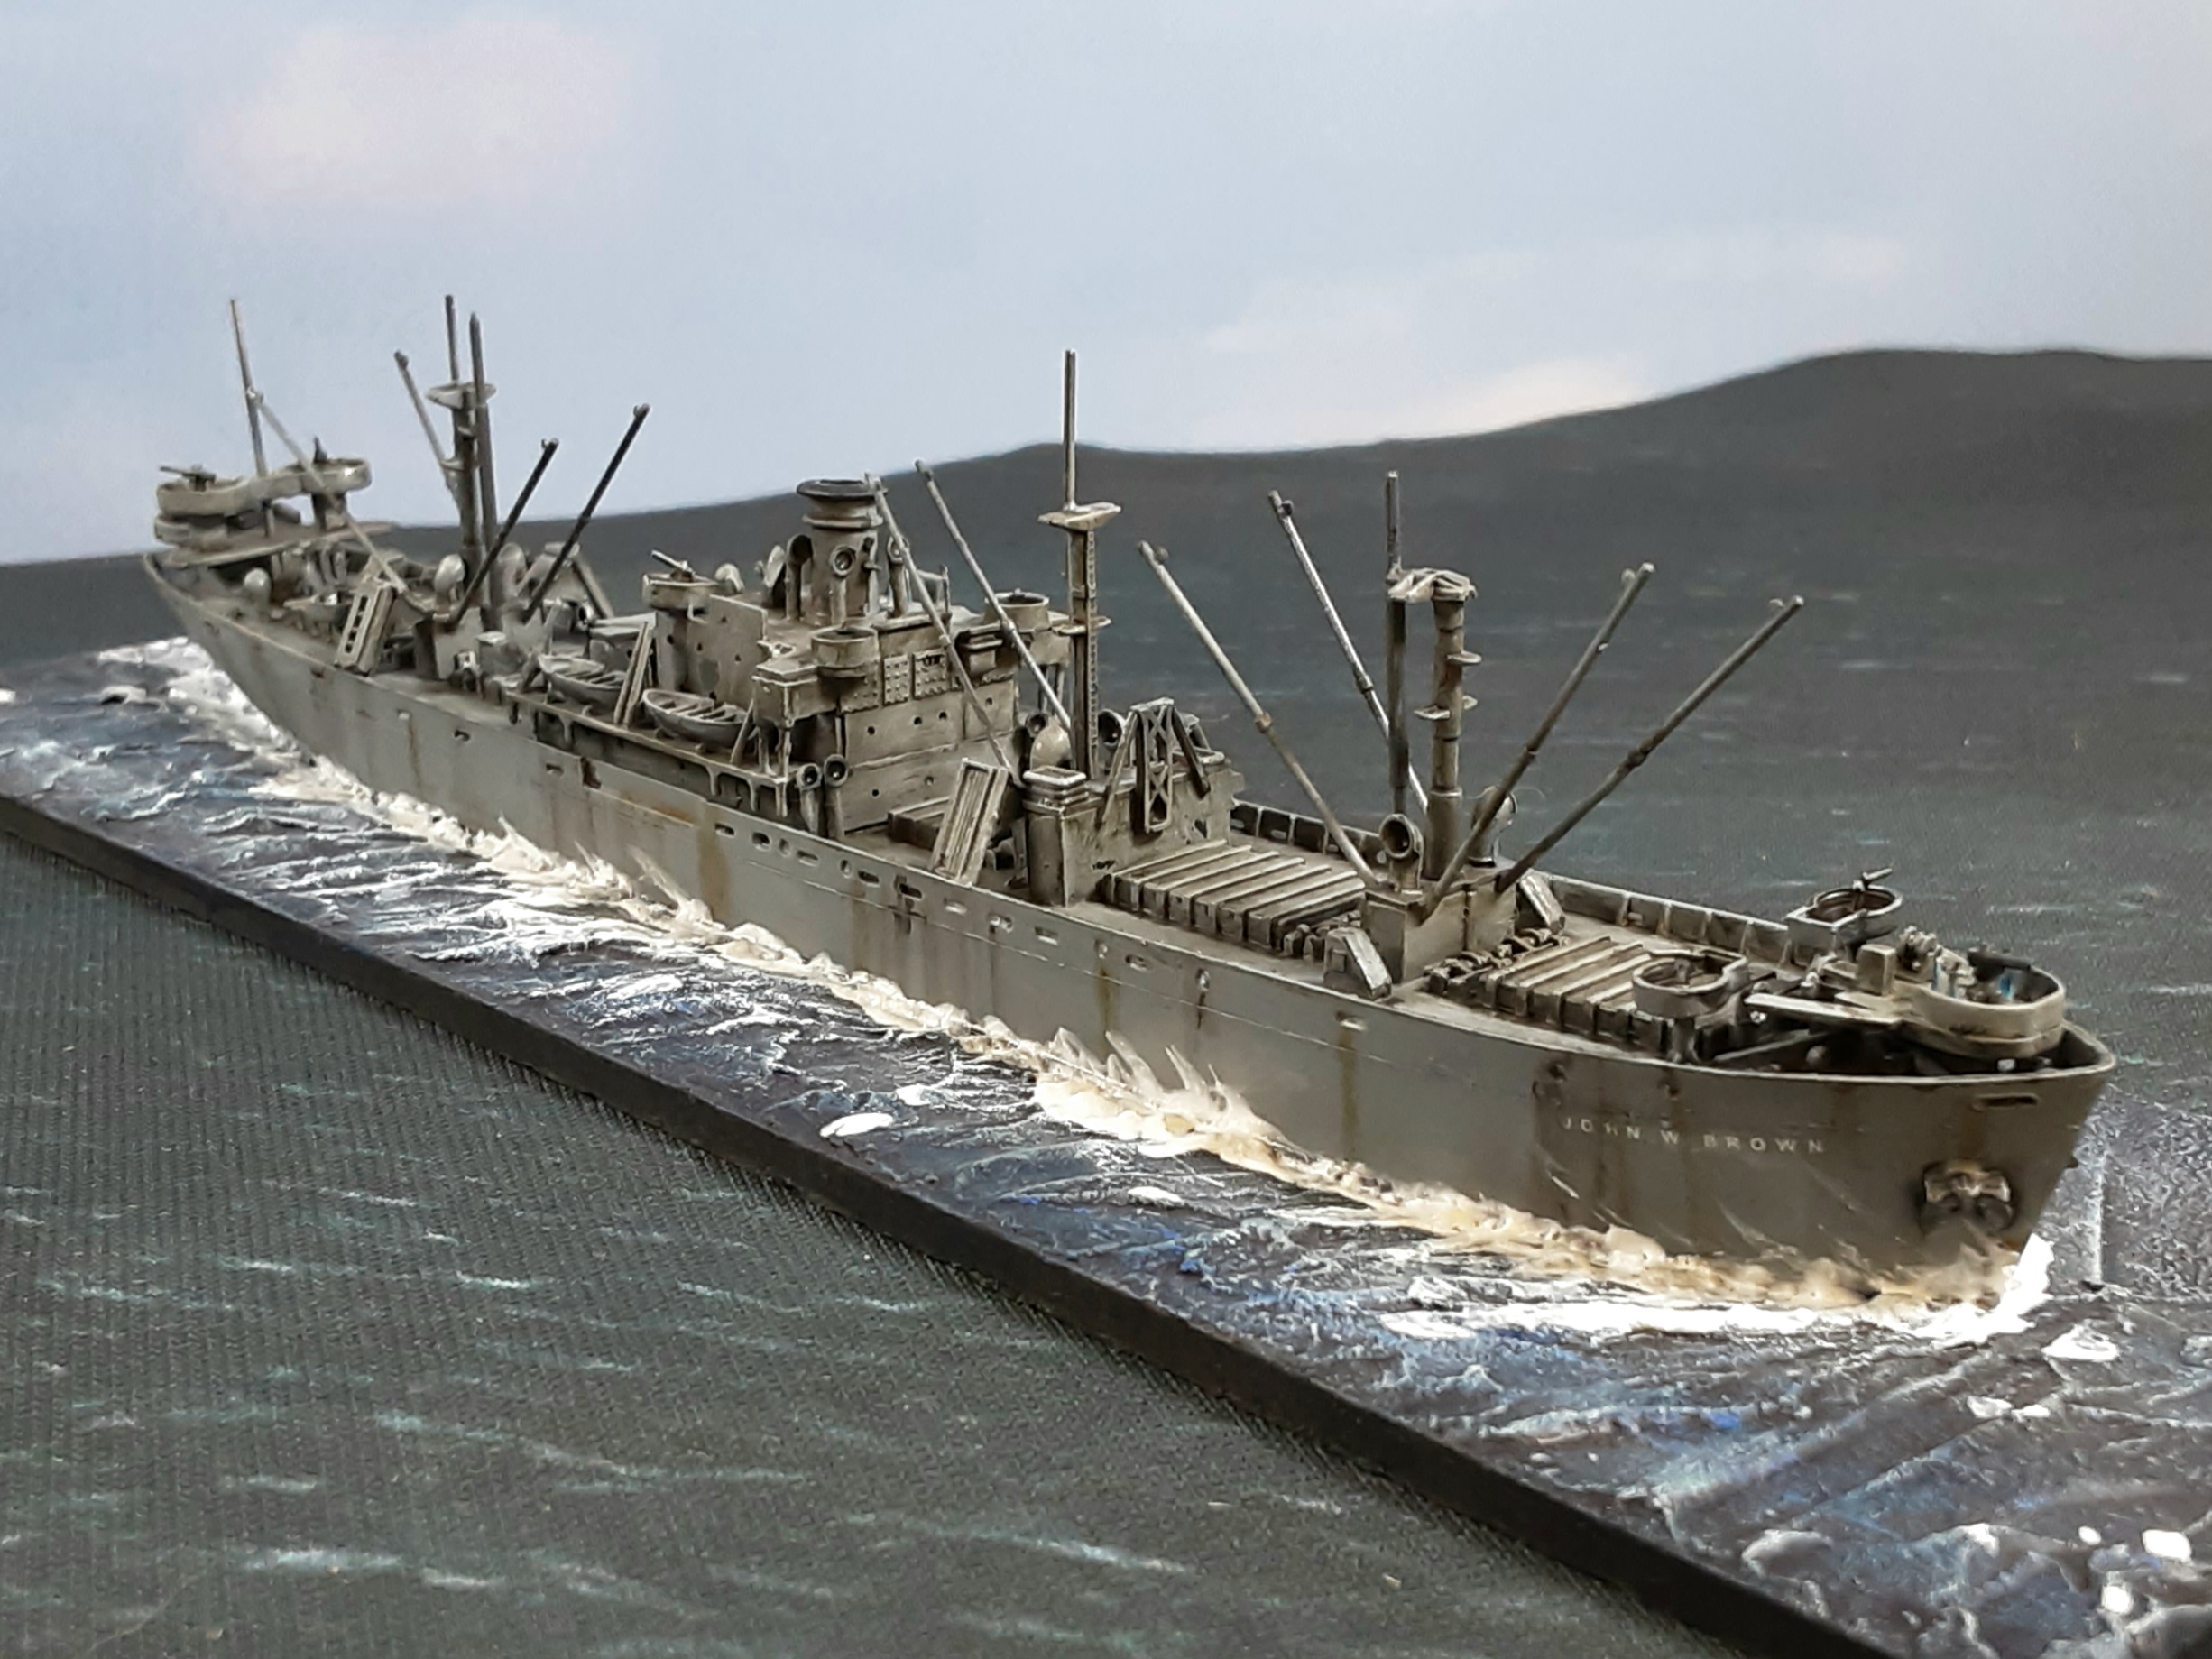
First up is a Trumpeter Models kit of the Liberty Ship, John W Brown. I've done it with a basic paint job.
I've upped the weathering on this ship to give it that back and forth, about to structurally fail look ! There is some discussion about the Cargo booms being out like they are on the model whilst at sea. Contemporary pictures show both extended and stowed, this is how the kit comes so that's what you get.
As a bit of fun I've added some 1/700 crew figures (from Eduard) in a couple of places on the ship as a bit of a try out. The picture above is my best effort at showing the dance moves from YMCA (although In the Navy would be more appropriate 😉)
To make a decent Convoy I will need a whole bunch of these but every journey starts with a Liberty Ship 🚢
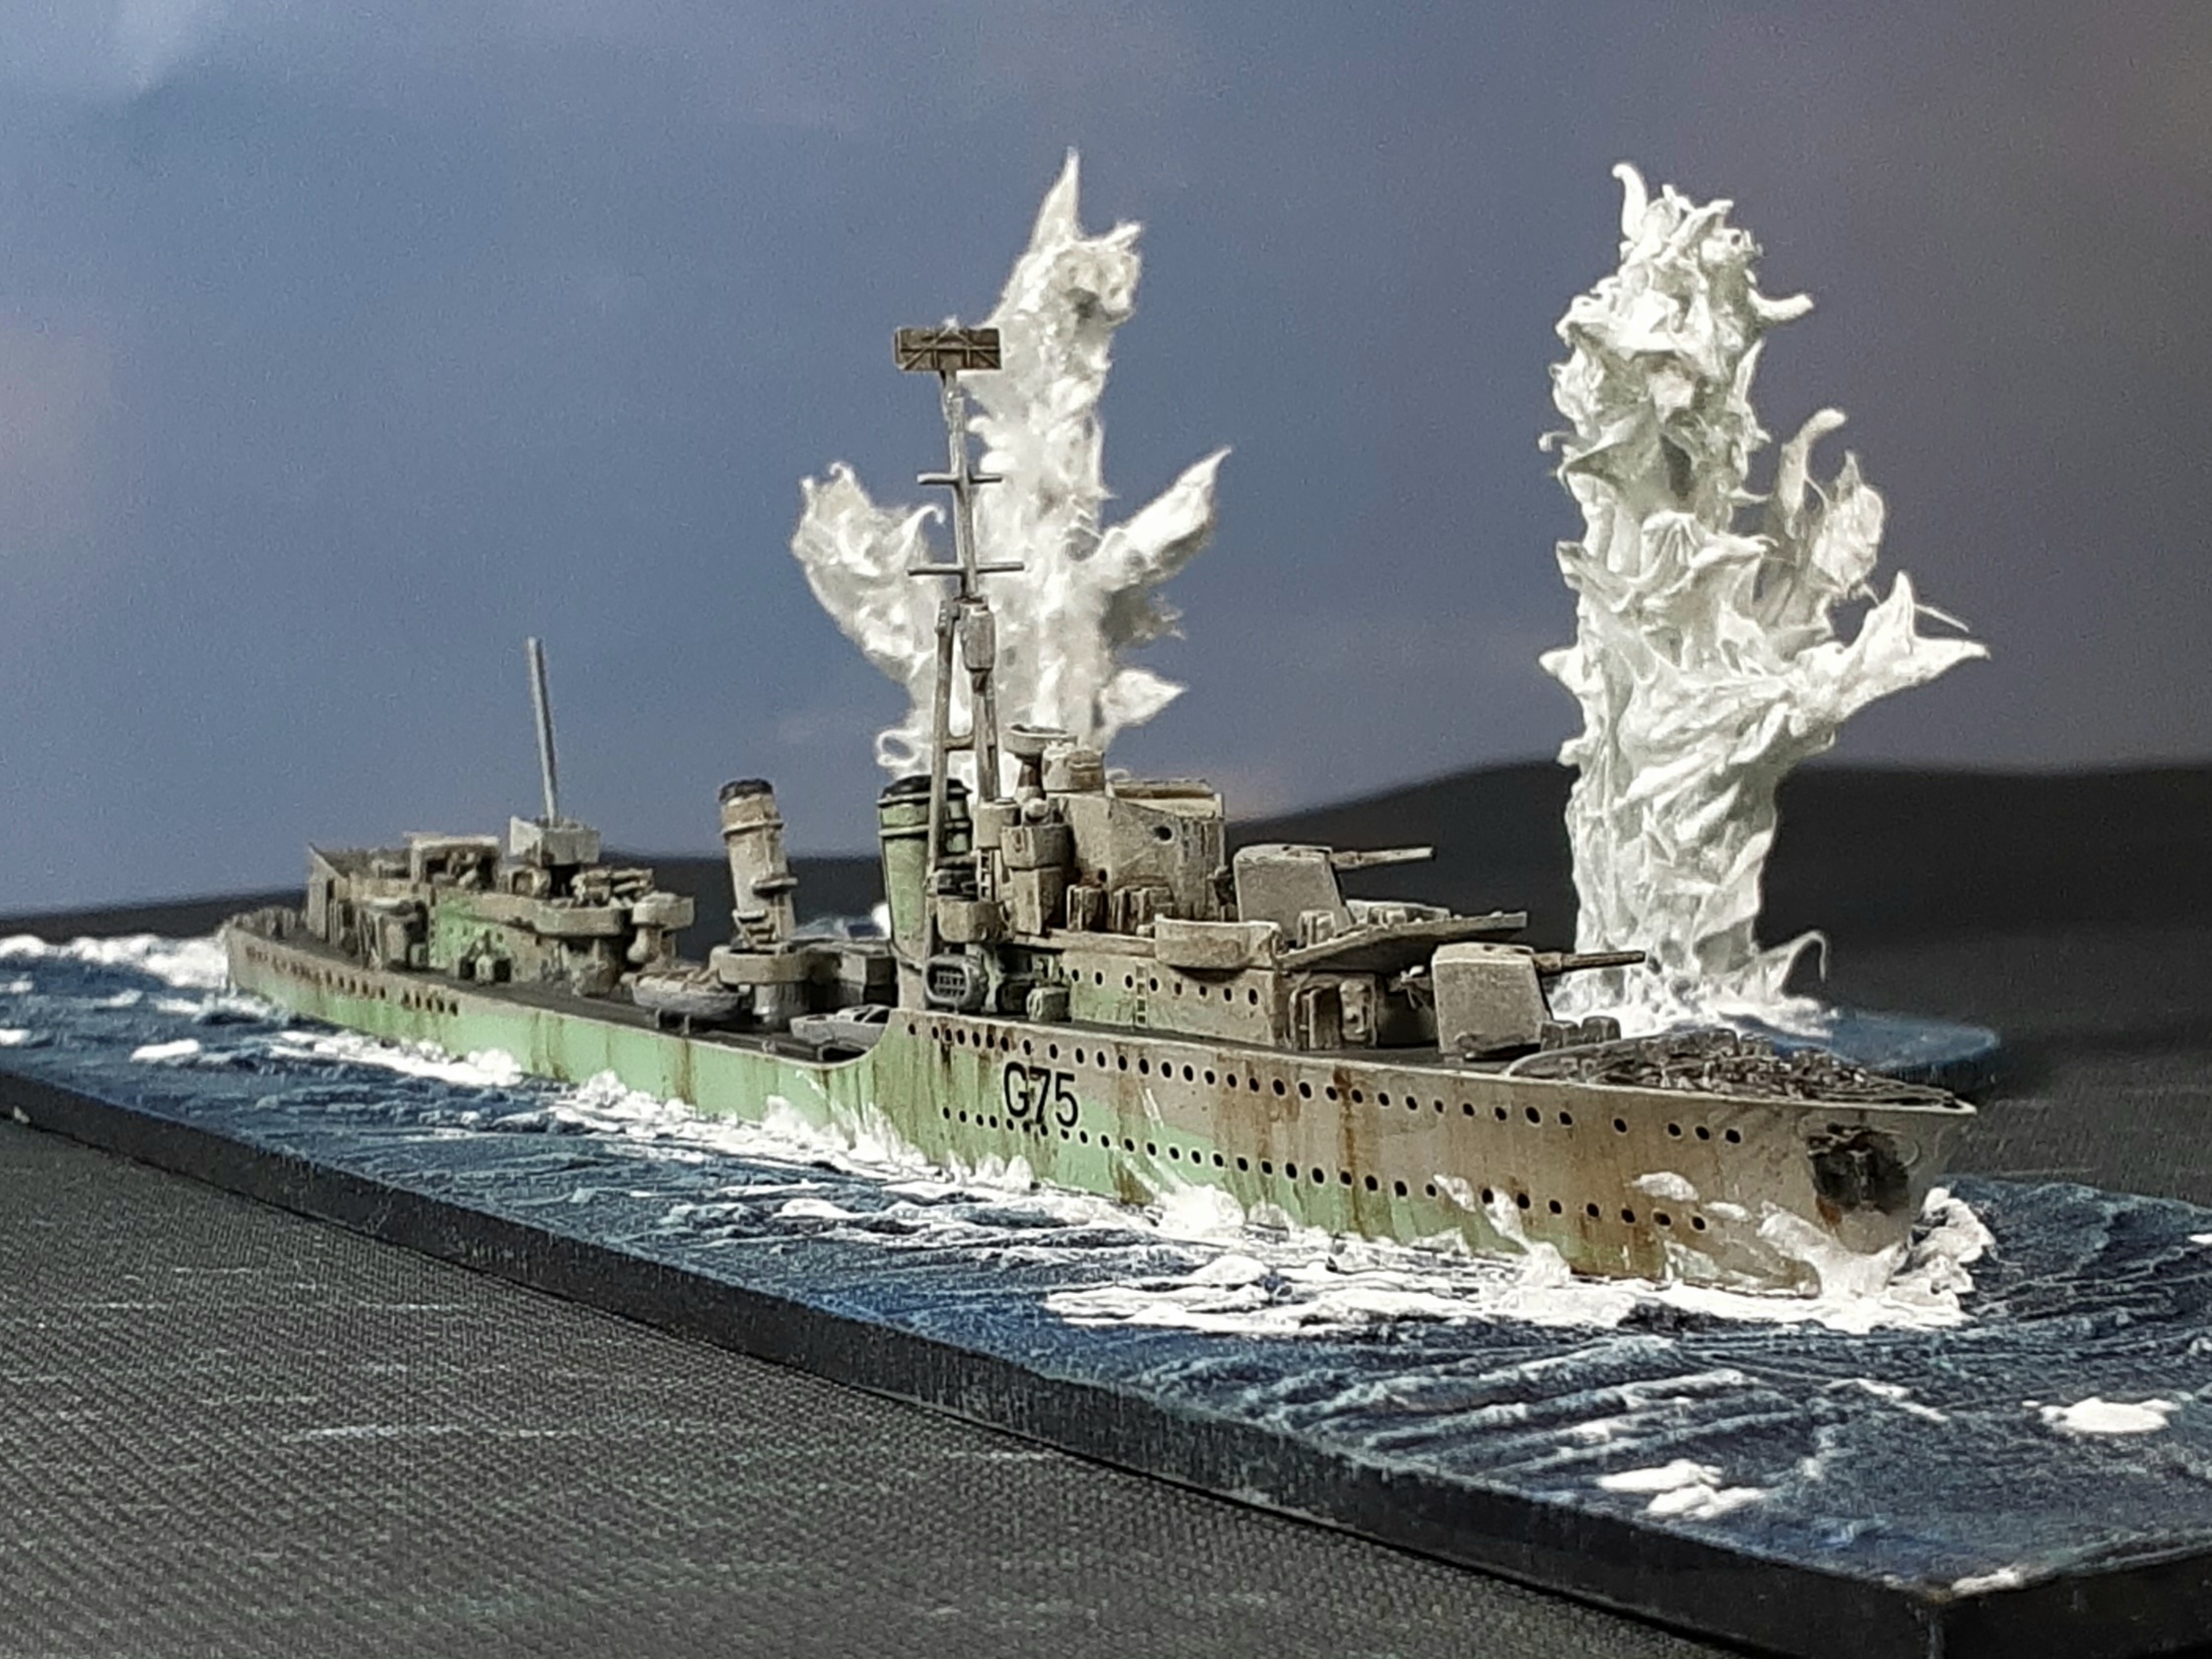
Next up is another Trumpeter kit, this time its HMS Eskimo one of the Tribal Class Destroyers and probably the best British small ship of the War.
I've gone for a Western Approaches Scheme for this ship, the Green was a little but wierd looking when I first put it on, but after a bit of weathering I think it looks the business.
Definitely an upgrade for my British fleet, if I get my gaming mojo back I am looking forward to getting it on the table.
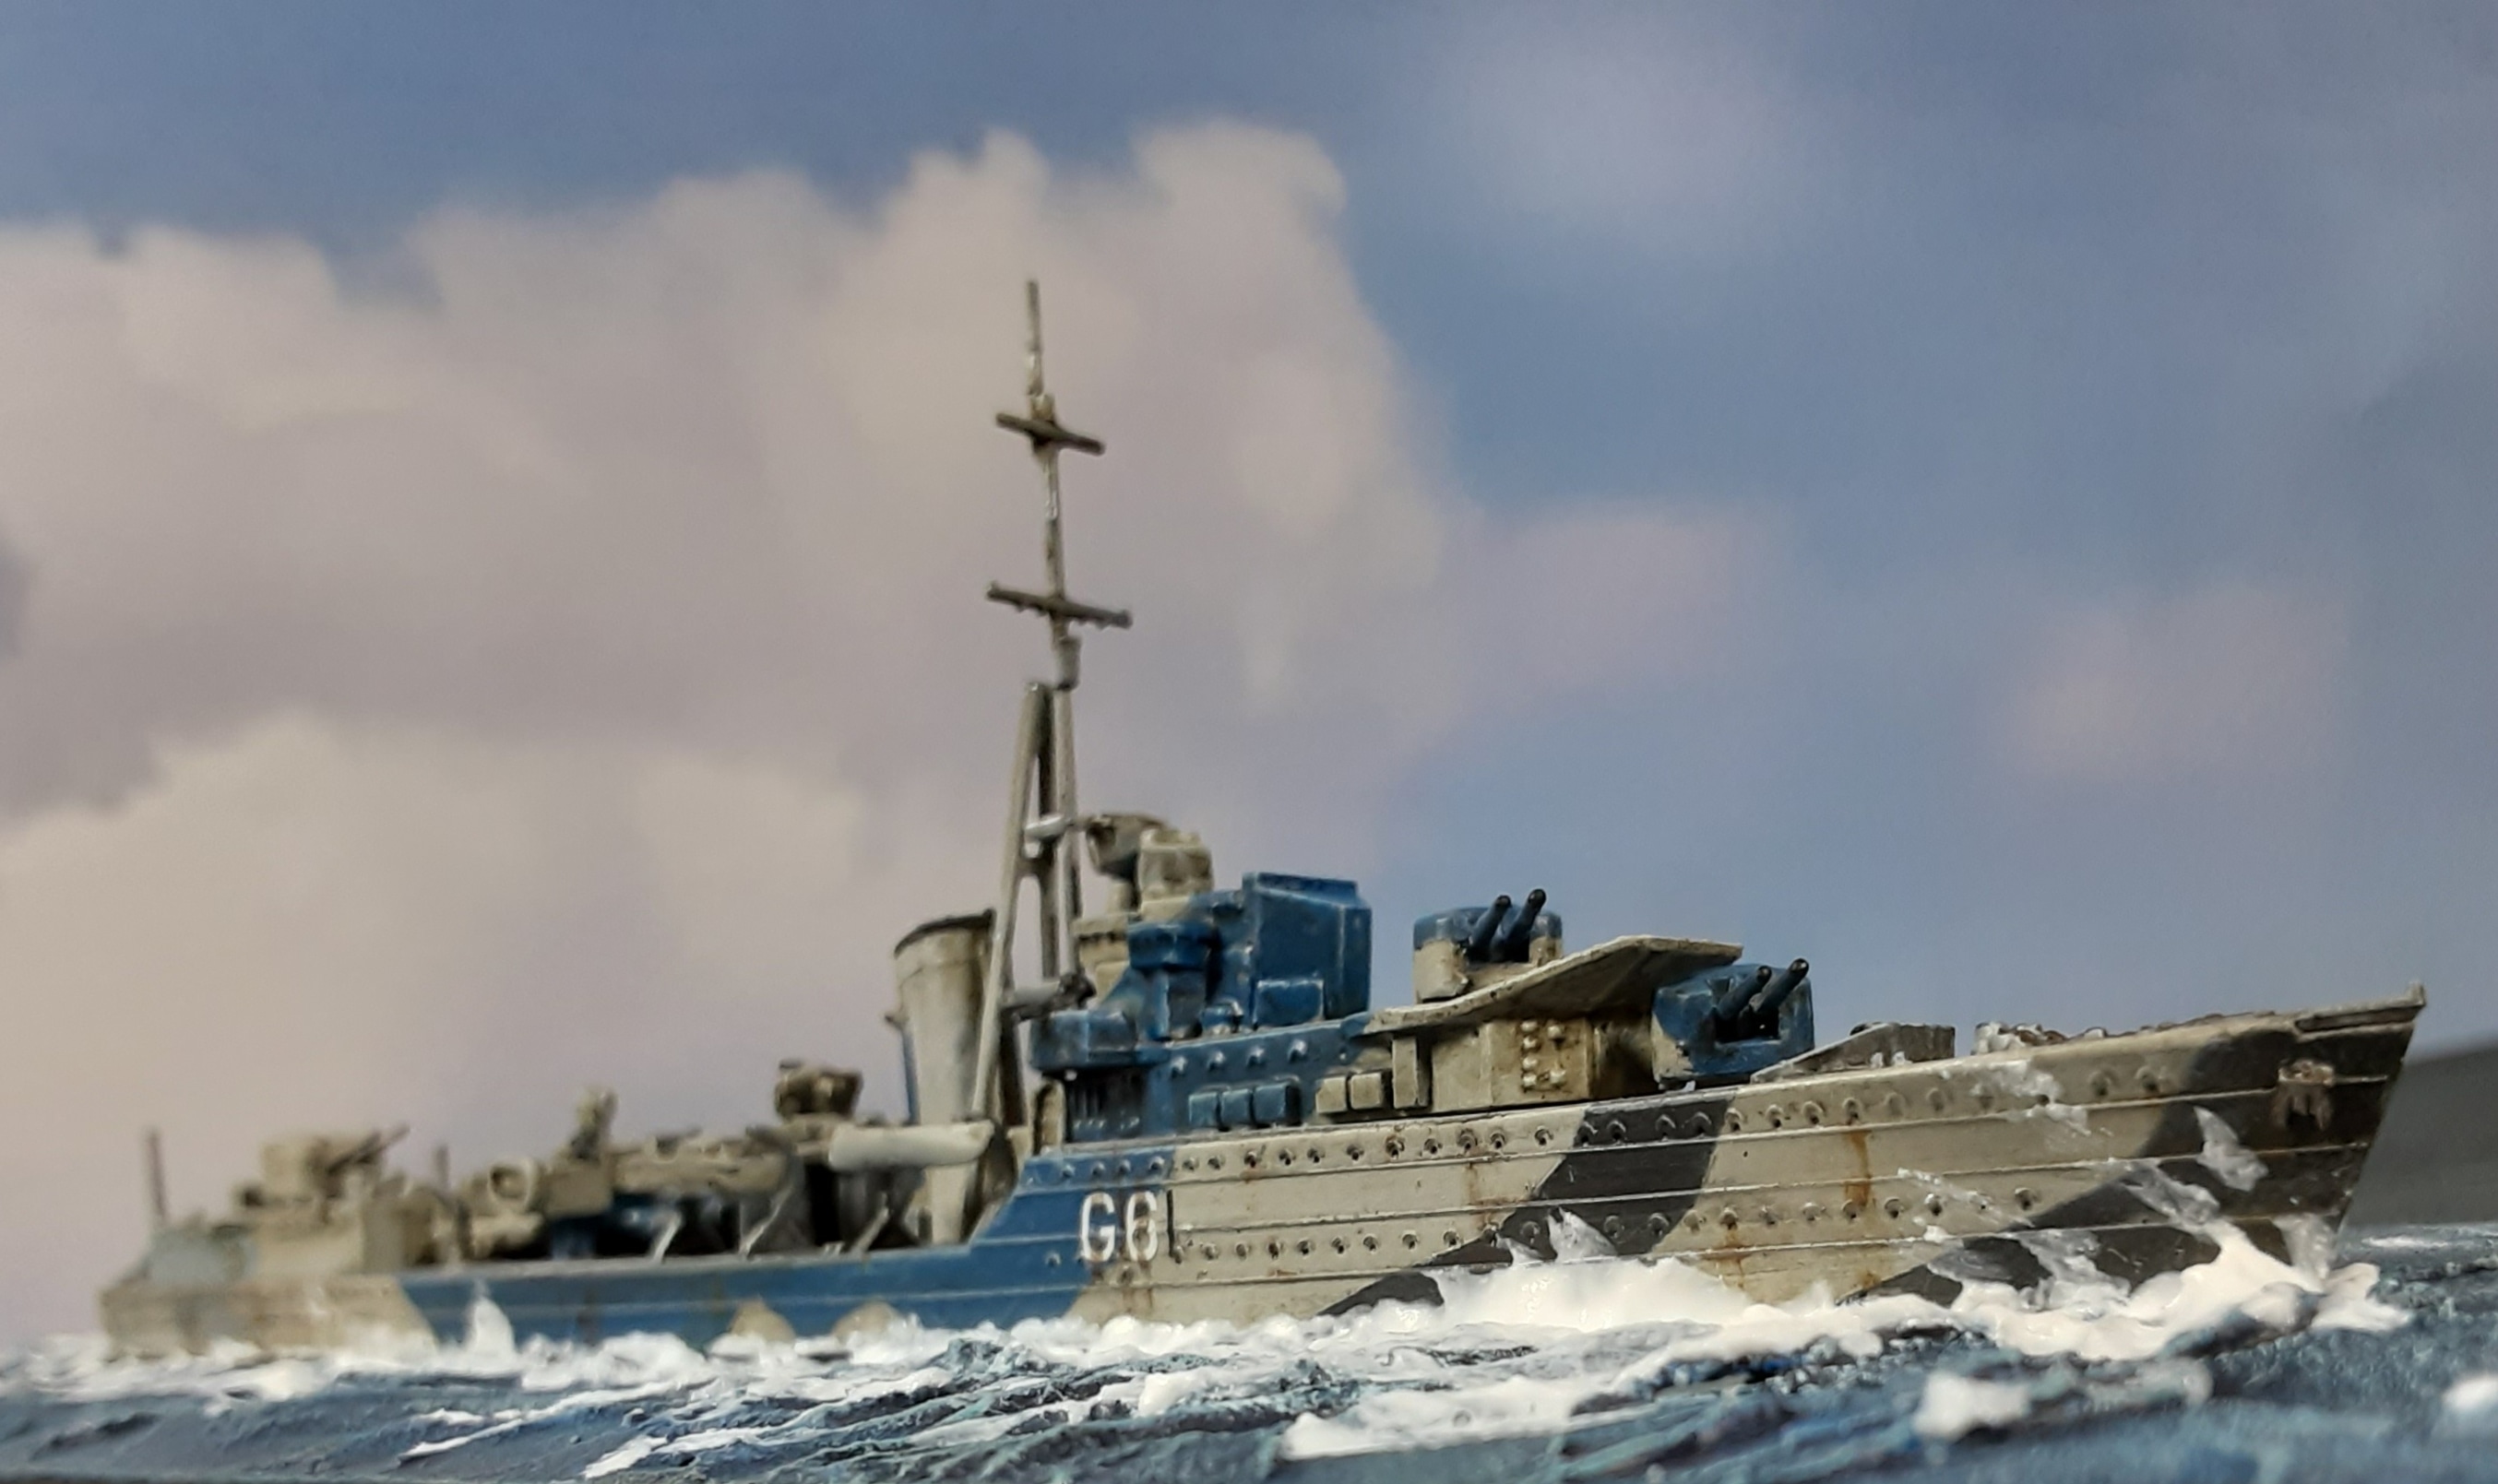
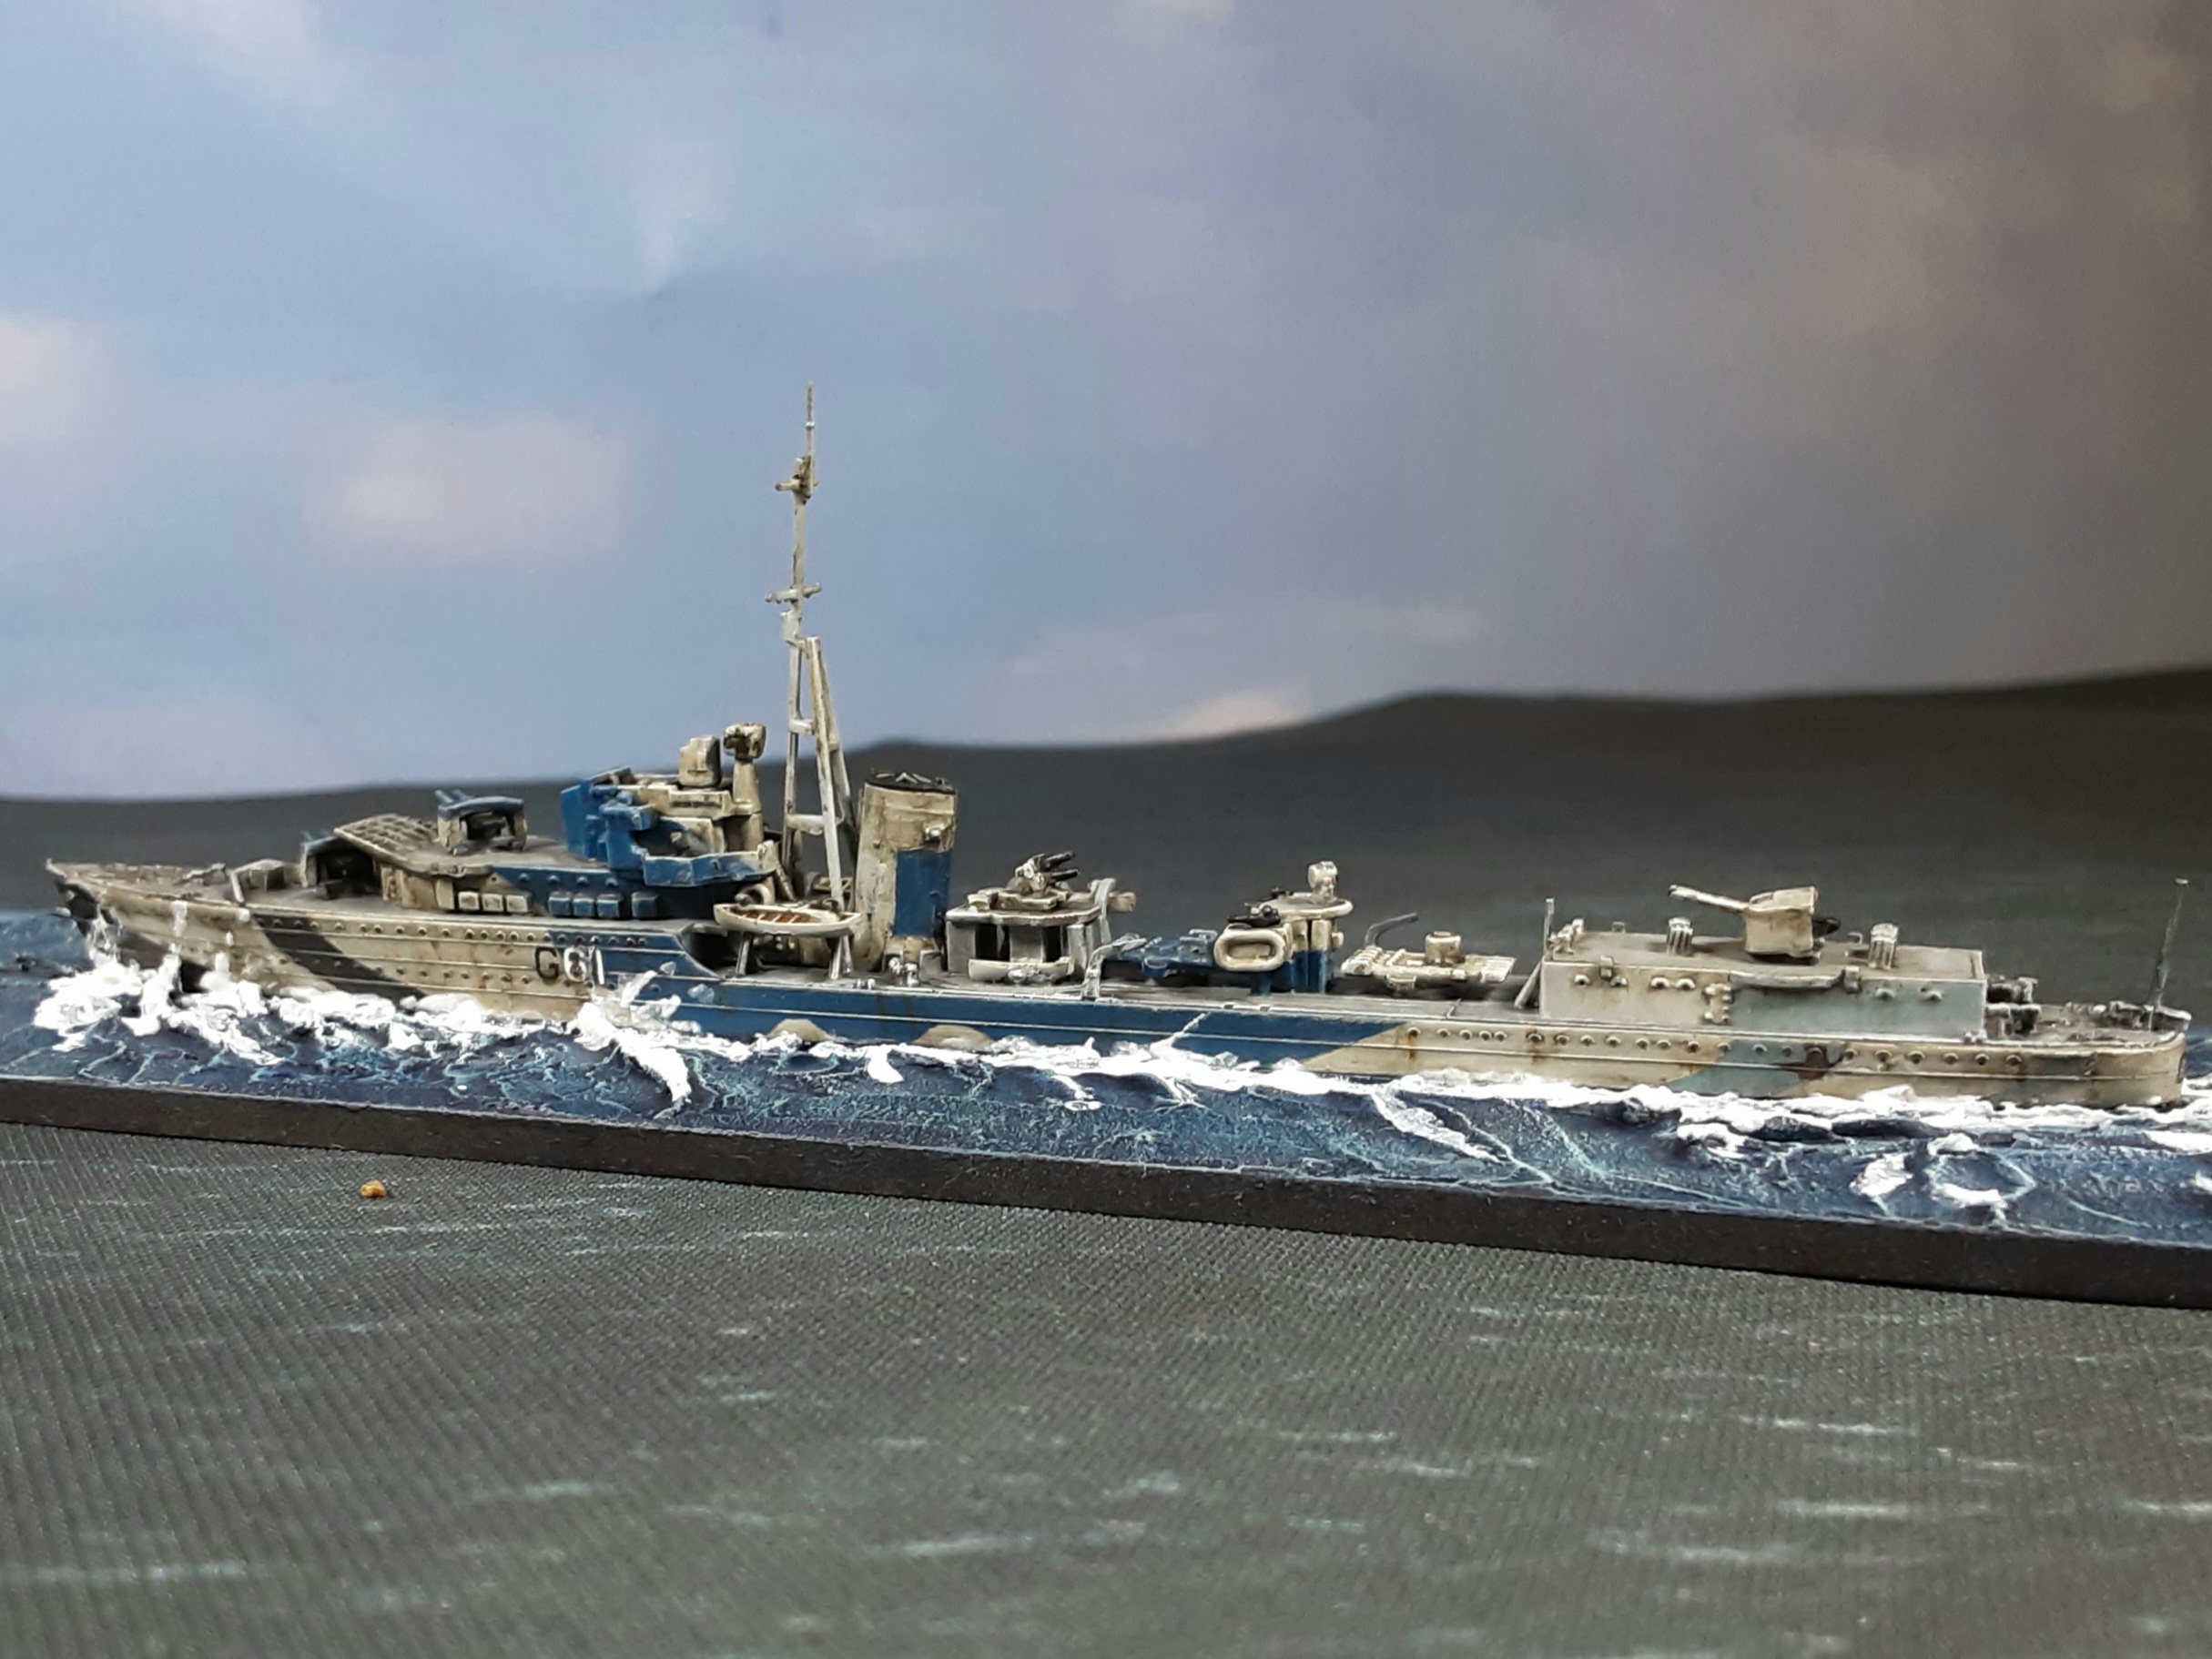
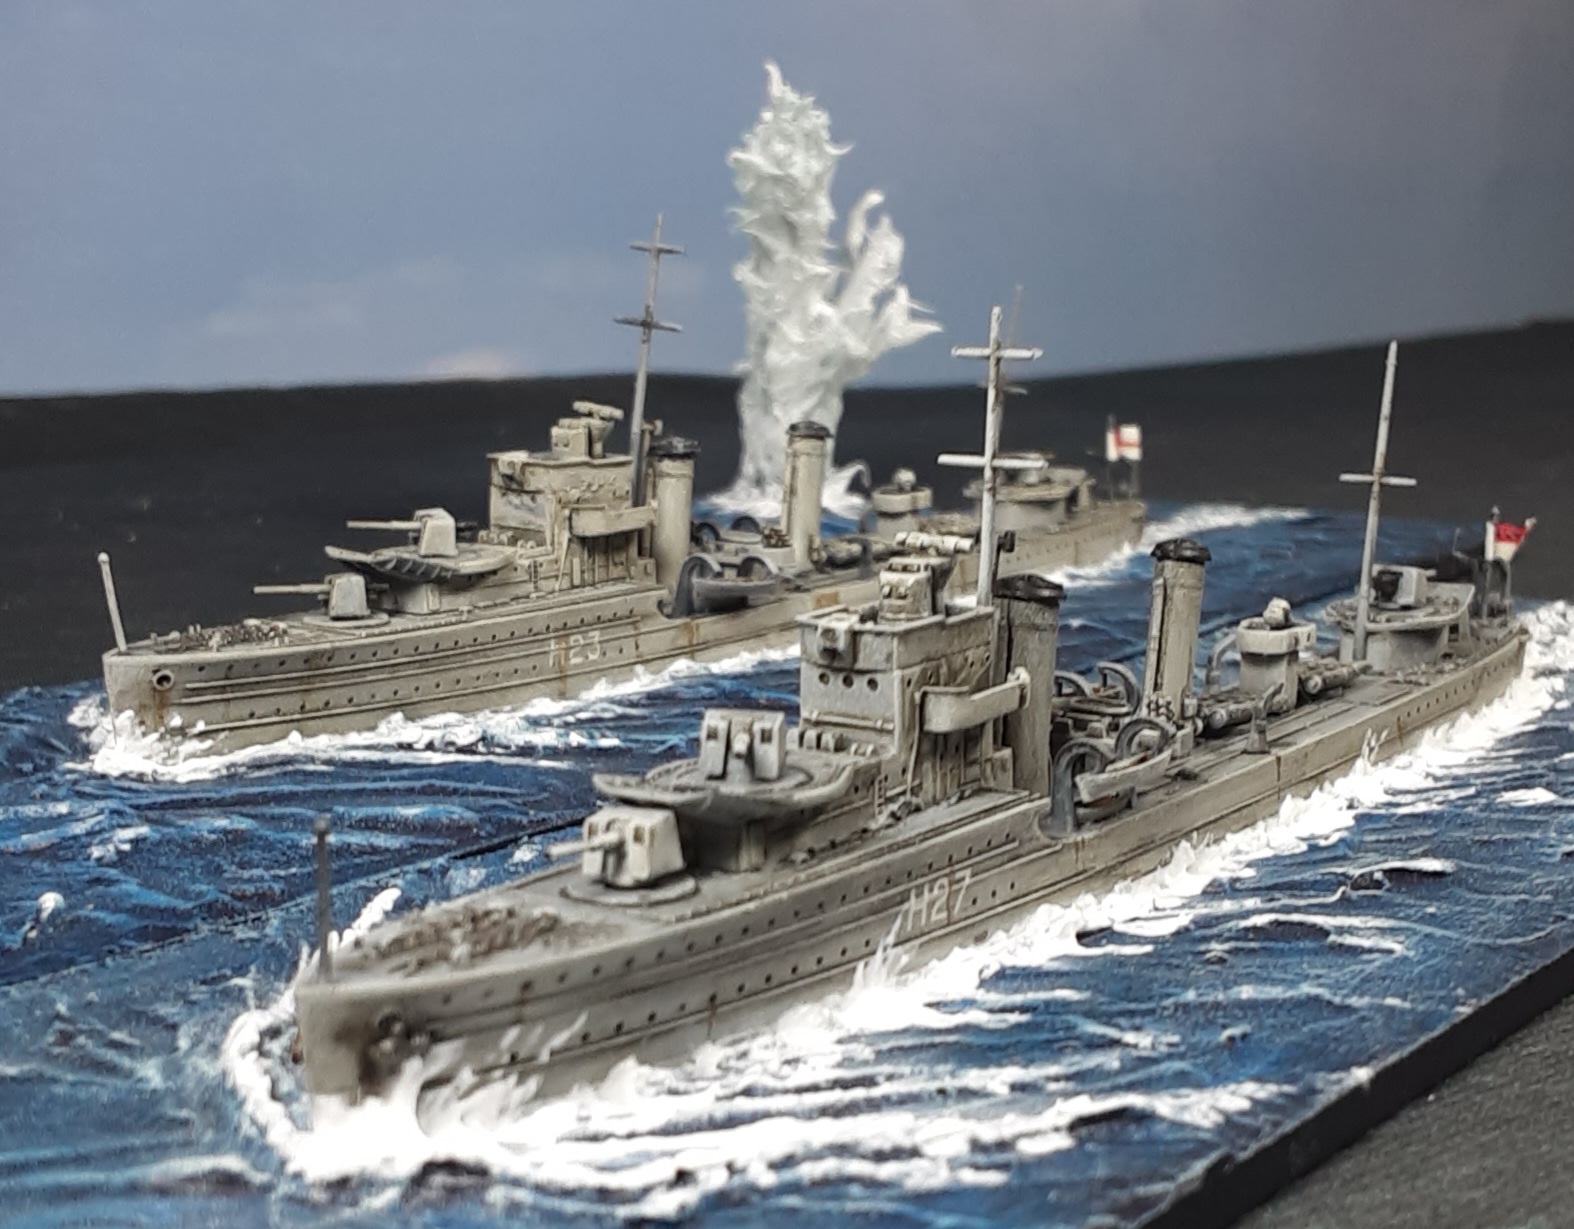
There is a second Destroyer to add to the Fleet, this time its HMS Javelin.
I picked up Mal Wrights book on British Destroyer Camouflage of WW2 and picked out this pattern for the ship. The model is HMS Jervis from Aoshima another of the J Class.
The dark Med Blue was another colour I wasn't sure about but again after getting it on the model and adding a bit if weathering it's definitely growing on me. I think it's years of painting smaller ships in grey that makes these so different for me.
I think the joy of this scale is the ability to really do camo schemes justice, I've tried this sort of thing in smaller scales and it never quite looks right. Sure 1/700 isn't particularly practical and I'm sure the comments section is already full of "have you got a car park to play in" comments 😆
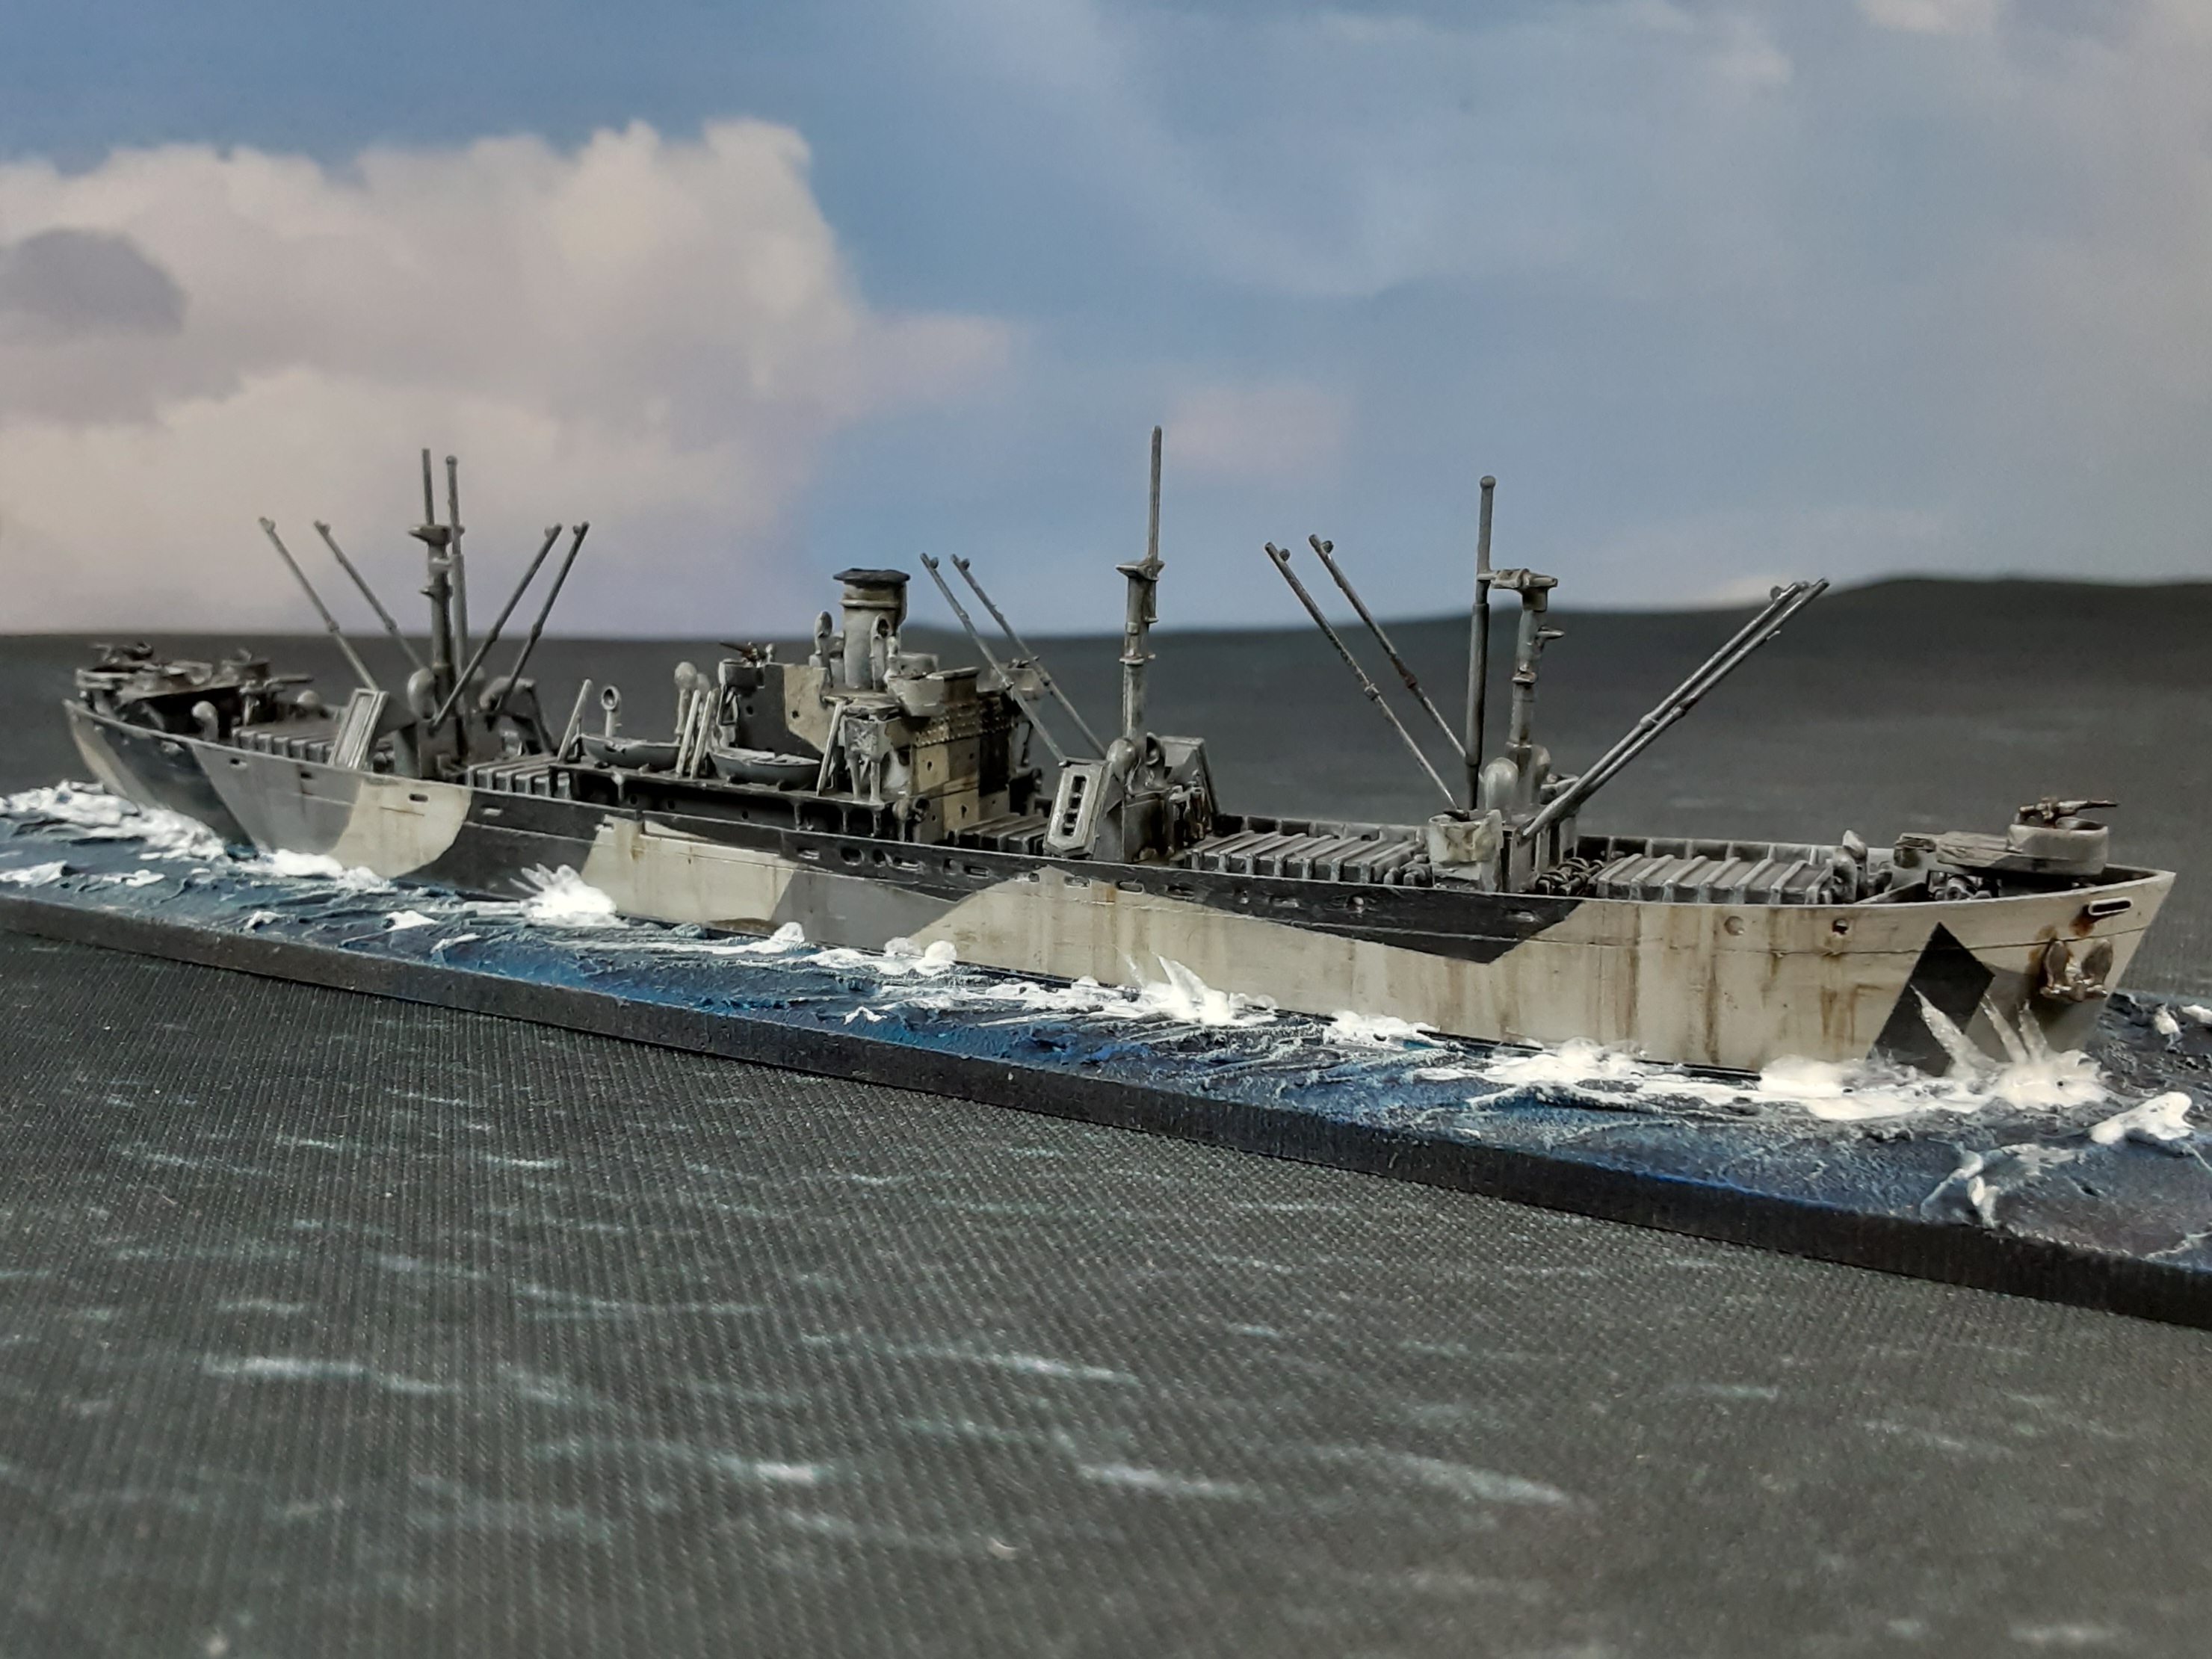
And finally (Ester) I have done a second Liberty Ship this time from the Trumpeter Jeremiah O'Brien kit.
This time I've jazzed it up a bit with a Measure 32, Design 11F paint job, who said Liberty Ships can't be exciting 😁
No crew on this one (yet) but I might add some at a later stage. There are some subtle differences between this model and the John W Brown one at the top of the page, mostly minor changes to the gun layout.
Hope you've enjoyed this update on the Project. I am having a whale 🐋 of a time putting these together and there is plenty more to come !
I've been slowly building up some 1/700 WW2 Naval Ships from plastic kits over the last few months and a couple of weeks ago I took them down the Leeds Wargames Club to give them a run out.
I am fortunate to have a 12 x 6 table at home but that isn't big enough for these ships so I set up a 12 x 8 table at the club to run a test game with the ships I have. We use an established set of WW2 Naval rules which I wrote 25 plus years ago, they were adapted for our WW1 games as well so everyone is familiar with the mechanisms so it's absolutely pointless to change them.
However I do need to examine the move distances and gun ranges to move them up in scale from our 1/3000 WW2 games and our 1/2400 WW1 games. I am not looking for an exact model scale to ground scale that would need a huge expanse, however neither am I definitely not looking to go down the Warlord Games route and get the whole of Midway on a 6 x 4.
I'm looking for a happy medium, something that is playable on a table I can manage (which is very Big) which looks right without prescribing to a precise mathematical formula. If I can make a 8 ship Destroyer Action work on a 12 x 8 I'm in the right ballpark for a large ship Action on say a 36 ft table.
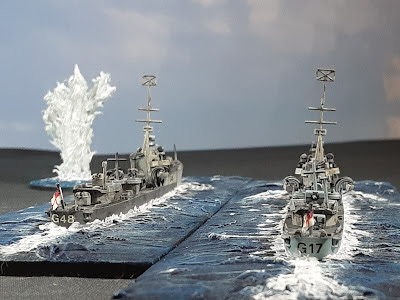
So the British started the game with 2 O class Destroyers, HMS Onslow and HMS Obedient (with the 4"QF Guns) pictured above.
Along with 2 E Class Destroyers, HMS Echo and HMS Electra (pictured above)
The Germans had 4 Destroyers Z31, Z32, Z33 and Z37, much larger than the British Destroyers they are also armed with 5.9" Guns, a couple of the ships have 5 Guns with a double turret at the front, the others 4.
These ships are more than a match for the British ones so we decided to only use 3 of the 4 ships and just move the 4th ship around as a dummy so it looked good. In true Yarkshire Gamer style we forgot we weren't using the 4th German Destroyer straight away and the British were in for it from the start.
For this test I was using a movement scale of half an inch per knot (from half a cm per knot for the 1/3000 ships) and had exchanged cms for inches on our firing charts which gave the British Destroyers a range of around a metre (in French Money) and the Germans slightly longer.
Things got hot pretty quickly as the ranges closed quicker than I had expected. If you look closely at the Splash Markers you can see small colour coded numbers, these are to enable us to remember which ship fired at which ship. In the WW1 games I have built shell splashes for each ship however these more scenic ones for the larger scale WW2 games are much more time consuming to produce so I have decided to number these and allocate them to a ship on a game by game basis in steady.
One of the joys of Naval Gaming to me is the randomness of the damage, you can plug away at a ship for move after move and hit nothing critical, smashing up a few boats or scaring the ships cat, or you can get luck with your first hit and damage something a bit more important, HMS Echo suffered damage to her rudder on turn 2 forcing her closer to the approaching German ships.
But it wasn't all one way traffic as a direct hit on one of the Torpedo Tubes on the deck of Z37 started a fire.
The next turn got a lot worse for Echo, stuck on a set course she was an easy target for the Germans and a number of hits caused extensive damage to the Bridge of the ship, whilst other hits caused a fire. To make matters worse attempts to repair the rudder failed.
It was going so well for the Germans until the Commander of Z31 got it all wrong. We write down our moves in secret at the start of each turn on the rear of each ship card, there was a slight miscalculation on the part of the Kriegsmarine and the words "Starboard 8, forward, oh f#*k" were clearly heard as Z31 slammed into the Port side of Z37 causing uncontrollable flooding in the latter ship.
In the end the British lost both E Class Destroyers to repeated hits from the Germans whilst the Germans lost Z37 through poor driving skills !
One O class and Z31 were badly damaged but a clear if not unexpected victory for the Germans.
So on reflection, the rules were fine, I know they work, that wasn't in doubt we have used them for that long. We didn't use Torpedoes in the game solely because I have not made any markers for them yet, and to do that I need to settle on a movement scale. The one thing we did find is that the ships felt as if they were moving too quickly and ranges closing extremely rapidly.
I will return in a few weeks and try a second play test this time using 1/3 inch per knot and see how that works. Remember I am looking for the right feel to the game not the exact scale conversion.
In addition I've added a couple of videos to the build the Bismark series
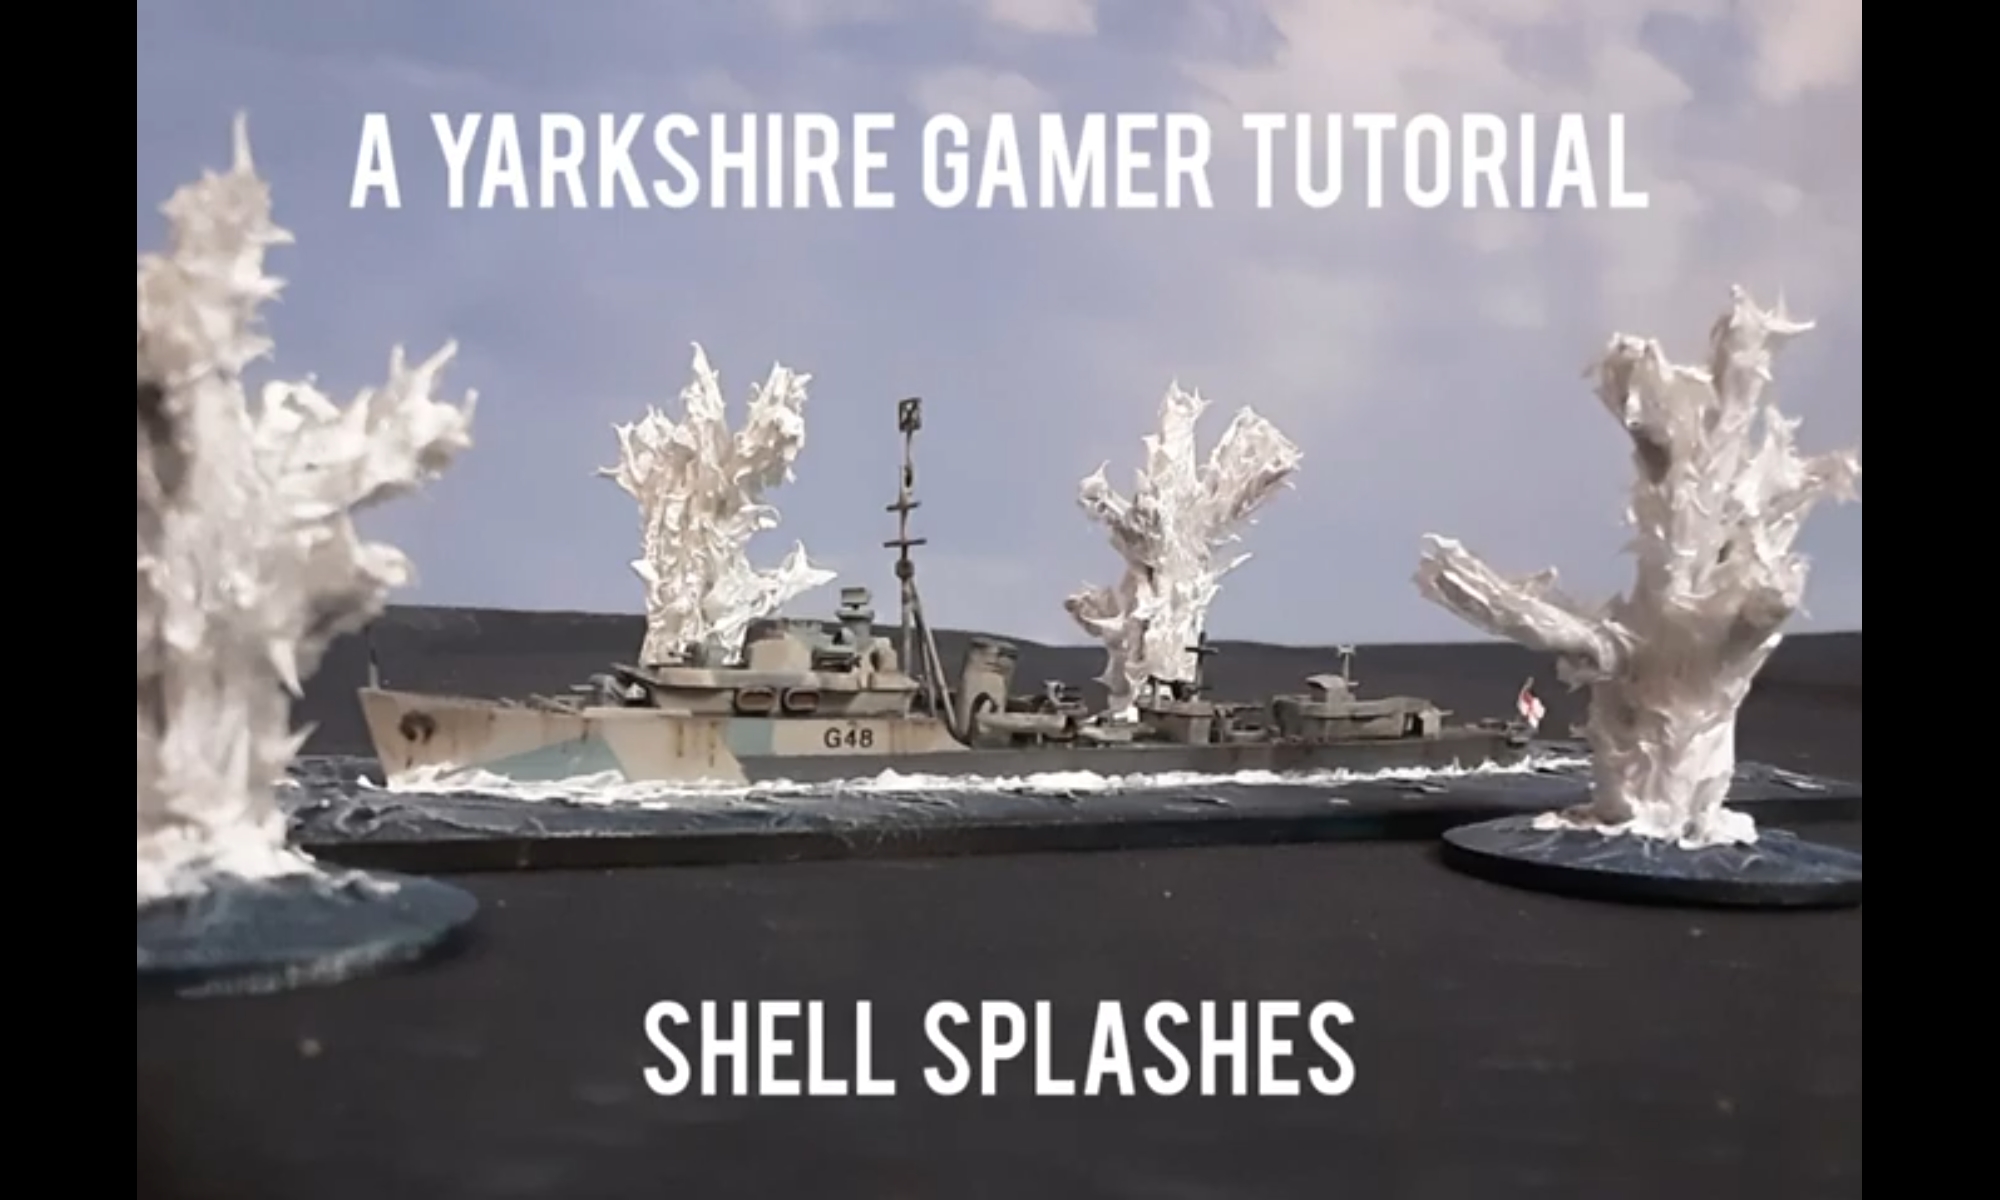
A lot of people have looked past the 1/700 WW2 Naval Ships that have taken me weeks to build and paint and said "Oh, I like those Splash Markers, how did you you make them ?" So to hopefully get that question out of the way I have put together a tutorial on how I made them. This is avaliable on the Yarkshire Gamer Utubes Channel with an embedded copy of the video below.
I'm not going to detail the whole process below, merely summarise it, to start with here is a list of the equipment I used
Pin Vice Drill with 3mm bit
Craft Knife
Sprue Cutters
Cooker Hob Lighter (or cigarette lighter)
Airbrush (not essential can be Rattle Can or brush)
Sealant Gun
An old nail (rust not essential 😉)
Drybrushing brushes
Old or cheap paint brush
And a list of material used
40mm diameter 3mm MDF round bases (for small splashes)
Old plastic sprues from model kits
Model Glue (Revell Contact Professional)
Plaster (Polyfilla / Spackle)
Vallejo Acrylic Gloss Varnish
White / Ivory Paint
Evo Stick Clear Sealant
Miniature Paints 24 Navy Blue
Vallejo Dark Blue 70930
Vallejo Dark Blue Grey 70904
Vallejo Ivory 70918
AK Interactive Water Foam effect
I recommend you watch the video for the full tutorial, below is a summary of the Destroyer Shell splashes.
1. Drill a hole in the centre of the mdf base
2. Cut a piece of old model sprue to about 5.5cm
3. Use a craft knife to widen the hole gradually until the sprue just fits through (as tight as possible)
4. Push the sprue through so about half a cm goes through to the other side
5. Using the lighter heat the short end of the sprue until it starts to melt, immediately place the base on a flat surface and push down hard so that the heated sprue flattens against the base forming a "nail head". Remember to remove quickly from the flat surface to prevent it sticking. Repeat if necessary.
6. Cut random lengths of sprue with a maximum height of the sprue in the base. Take 6 of the sprue lengths, heat up part of the sprue so that you can bend the top of them at random angles.
7. Glue the bent sprues around the outside of the central fixed sprue to form a tree like frame.
8. Use the craft knife to spread some Polyfilla on the base around the bottom of the sprues to make a sea surface. Wait for the plaster and glue to dry overnight.
9. Paint the sprue tree White, I use an airbrush but a normal brush or spray can is fine, make sure what ever method used that the sprue is completely covered.
10. Paint the plaster with Gloss Varnish, it will seal the plaster and provide a base for the sea.
11. Using the Sealant Gun cover the sprue tree with clear Sealant
12. Use the nail to "tease" out the Sealant into small points trying to disguise the ends of the sprues. Leave to dry overnight.
13. Paint the base with the Miniature Paints Navy Blue and then drybrush with the Dark Blue followed by the Dark Blue Grey and highlight with Ivory.
14. Drybrush the dry Sealant with Ivory
15. Finish the base with Water Foam effect around the base of the splash and on the ends of the sprues.
Sit back and admire your handy work, take a photo and copy me in 😀