Wargames blog, covering many shiny things in the world of Historical Wargames. Home of Yarkshire Gamers Reet Big Wargames Podcast.
The YG tentacles reach to a You Tube Channel - Yarkshire TV, also find us on the Twitters and Insta @yarkshiregamer
Tuesday, 8 November 2022
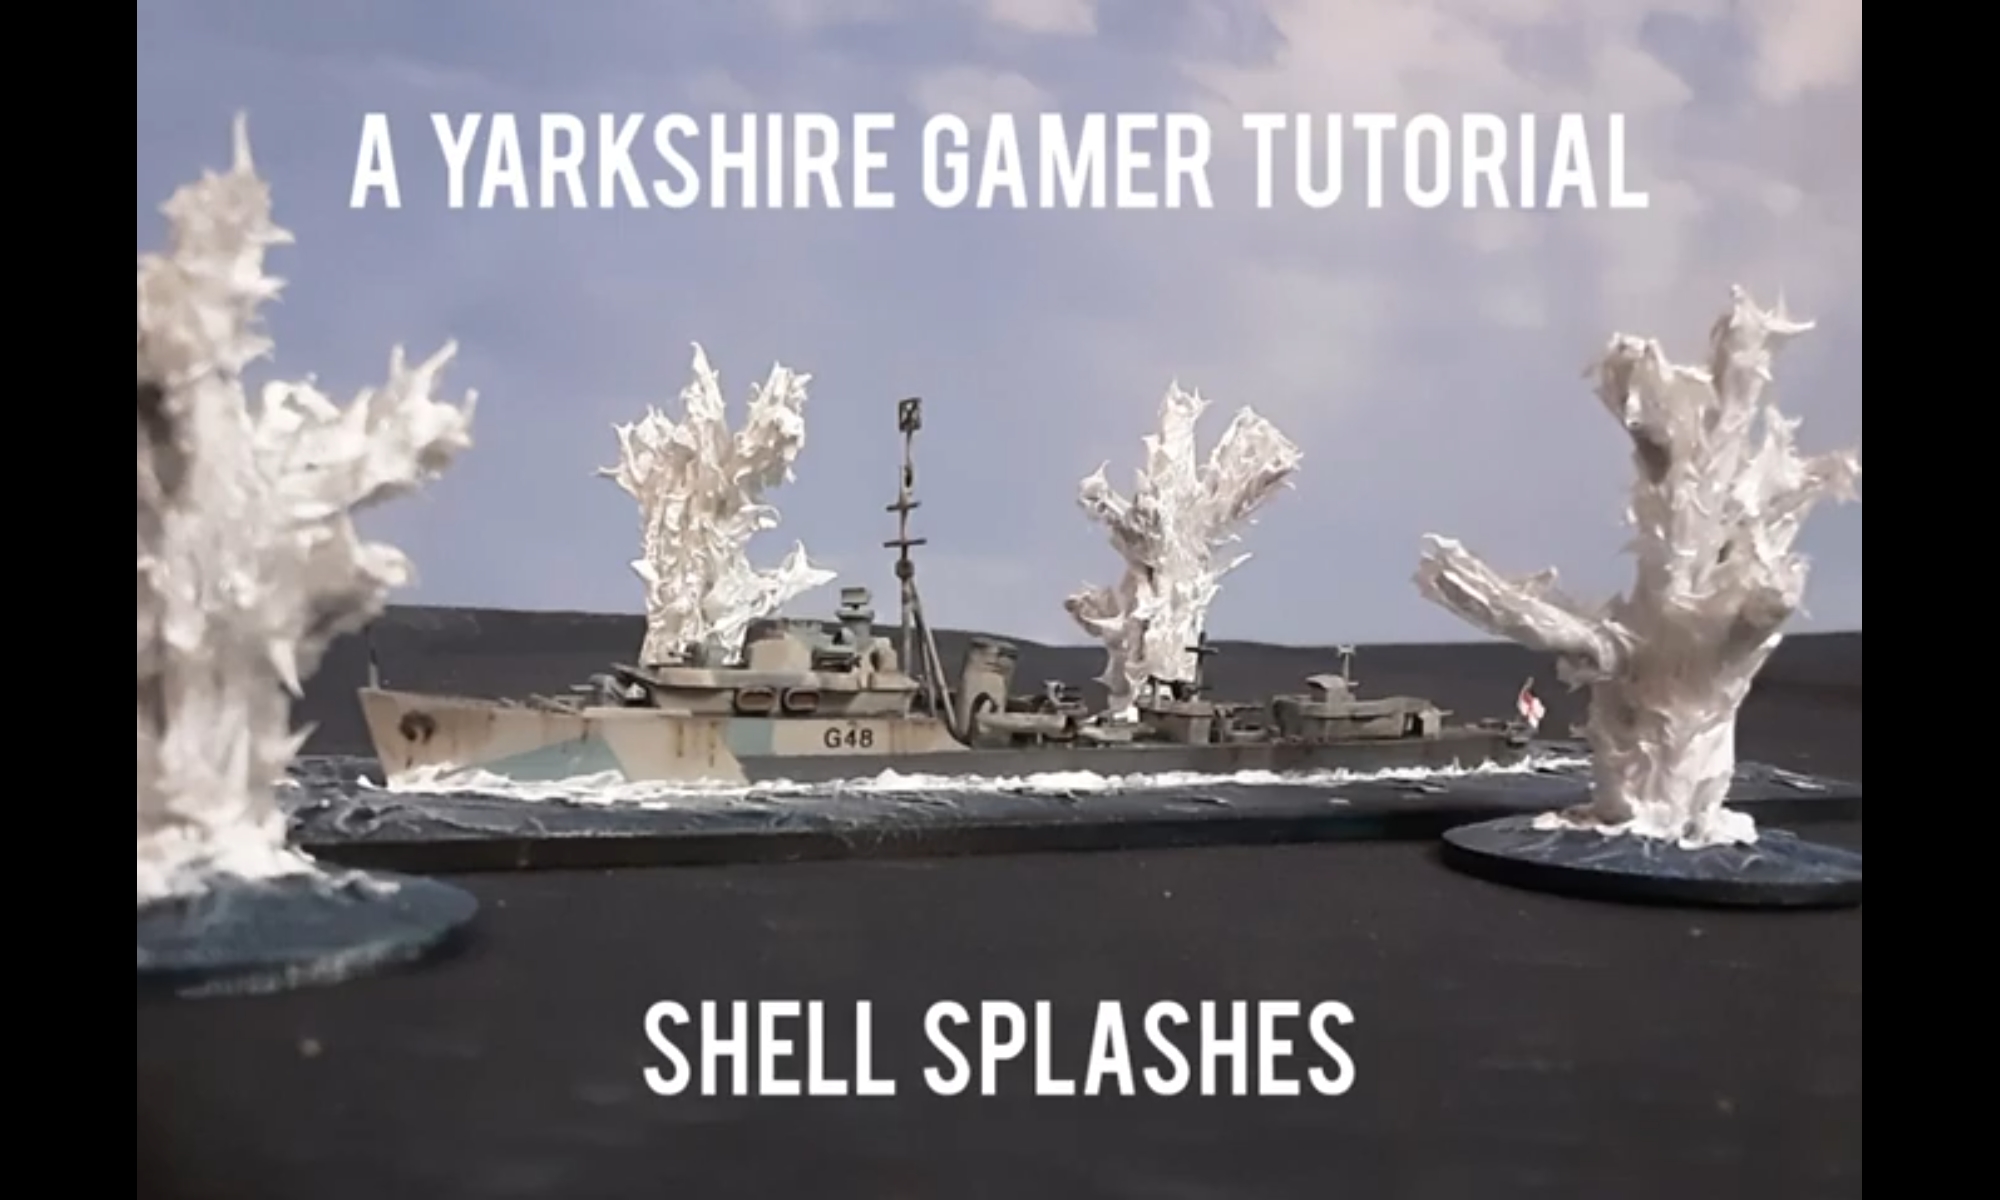
Naval Wargaming Shell Splash Tutorial
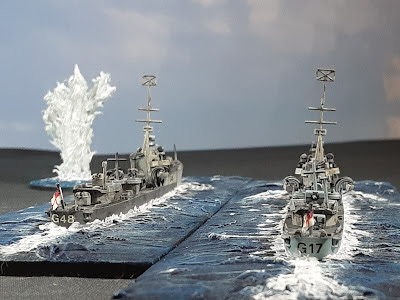
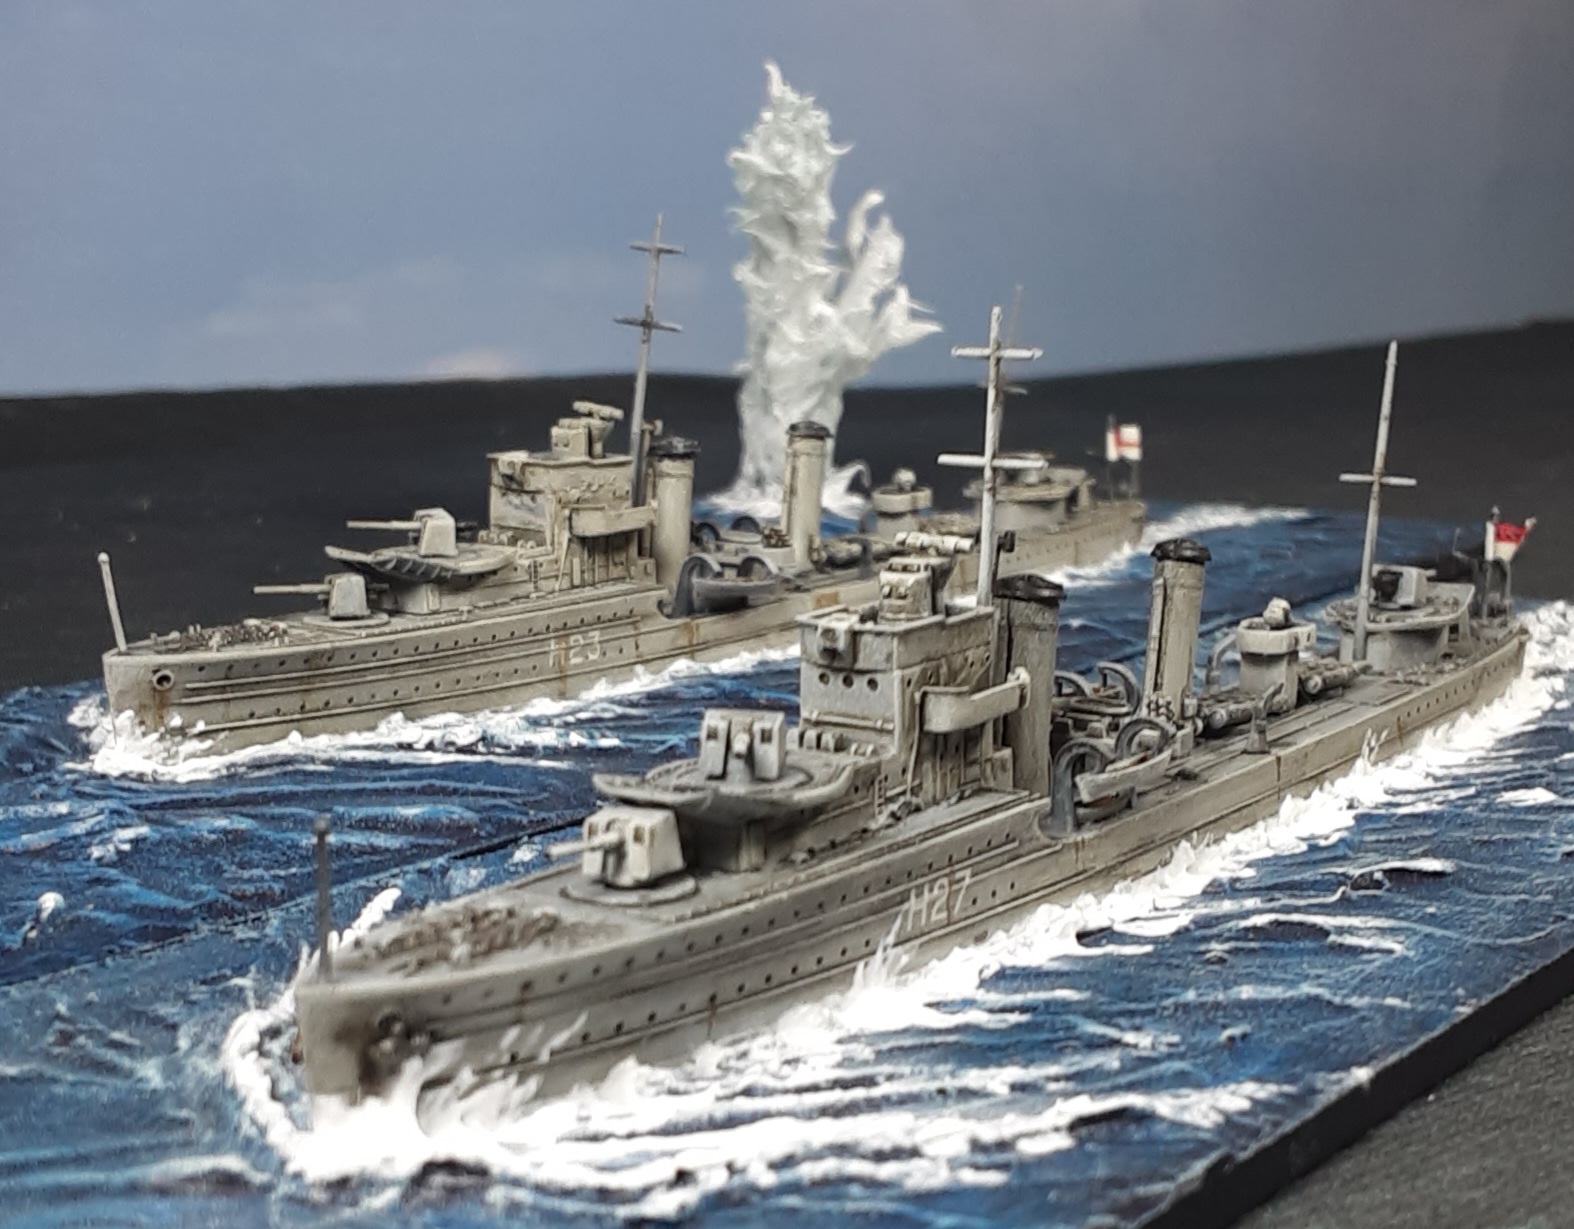
A lot of people have looked past the 1/700 WW2 Naval Ships that have taken me weeks to build and paint and said "Oh, I like those Splash Markers, how did you you make them ?" So to hopefully get that question out of the way I have put together a tutorial on how I made them. This is avaliable on the Yarkshire Gamer Utubes Channel with an embedded copy of the video below.
I'm not going to detail the whole process below, merely summarise it, to start with here is a list of the equipment I used
Pin Vice Drill with 3mm bit
Craft Knife
Sprue Cutters
Cooker Hob Lighter (or cigarette lighter)
Airbrush (not essential can be Rattle Can or brush)
Sealant Gun
An old nail (rust not essential 😉)
Drybrushing brushes
Old or cheap paint brush
And a list of material used
40mm diameter 3mm MDF round bases (for small splashes)
Old plastic sprues from model kits
Model Glue (Revell Contact Professional)
Plaster (Polyfilla / Spackle)
Vallejo Acrylic Gloss Varnish
White / Ivory Paint
Evo Stick Clear Sealant
Miniature Paints 24 Navy Blue
Vallejo Dark Blue 70930
Vallejo Dark Blue Grey 70904
Vallejo Ivory 70918
AK Interactive Water Foam effect
I recommend you watch the video for the full tutorial, below is a summary of the Destroyer Shell splashes.
1. Drill a hole in the centre of the mdf base
2. Cut a piece of old model sprue to about 5.5cm
3. Use a craft knife to widen the hole gradually until the sprue just fits through (as tight as possible)
4. Push the sprue through so about half a cm goes through to the other side
5. Using the lighter heat the short end of the sprue until it starts to melt, immediately place the base on a flat surface and push down hard so that the heated sprue flattens against the base forming a "nail head". Remember to remove quickly from the flat surface to prevent it sticking. Repeat if necessary.
6. Cut random lengths of sprue with a maximum height of the sprue in the base. Take 6 of the sprue lengths, heat up part of the sprue so that you can bend the top of them at random angles.
7. Glue the bent sprues around the outside of the central fixed sprue to form a tree like frame.
8. Use the craft knife to spread some Polyfilla on the base around the bottom of the sprues to make a sea surface. Wait for the plaster and glue to dry overnight.
9. Paint the sprue tree White, I use an airbrush but a normal brush or spray can is fine, make sure what ever method used that the sprue is completely covered.
10. Paint the plaster with Gloss Varnish, it will seal the plaster and provide a base for the sea.
11. Using the Sealant Gun cover the sprue tree with clear Sealant
12. Use the nail to "tease" out the Sealant into small points trying to disguise the ends of the sprues. Leave to dry overnight.
13. Paint the base with the Miniature Paints Navy Blue and then drybrush with the Dark Blue followed by the Dark Blue Grey and highlight with Ivory.
14. Drybrush the dry Sealant with Ivory
15. Finish the base with Water Foam effect around the base of the splash and on the ends of the sprues.
Sit back and admire your handy work, take a photo and copy me in 😀


No comments:
Post a Comment